You have received your top pad kit, but there are no instructions.
You kit should be 4 parts.
Under layment
Matting (horse hair or foam)
2 nylon straps (for the window).
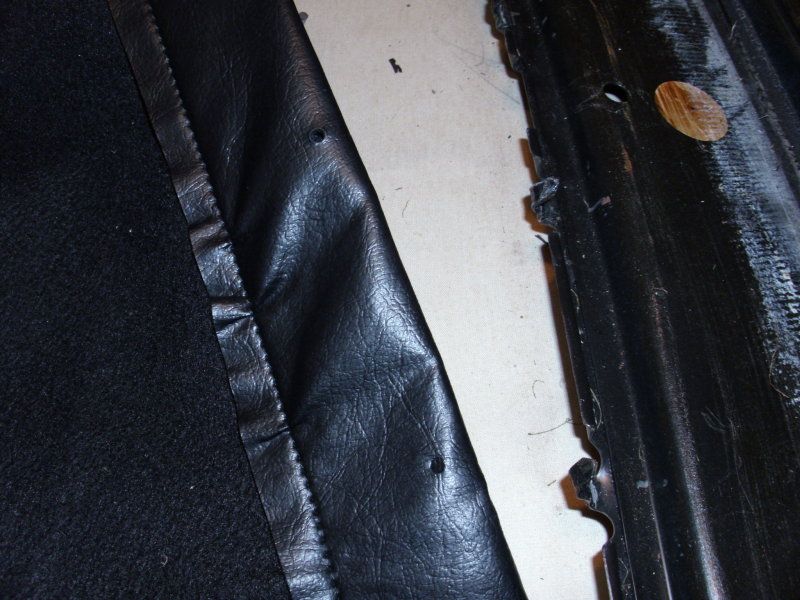
Front has the holes

Front has the arch and fold over.

Remove your old cover, disassemble it to see how it is laid out.
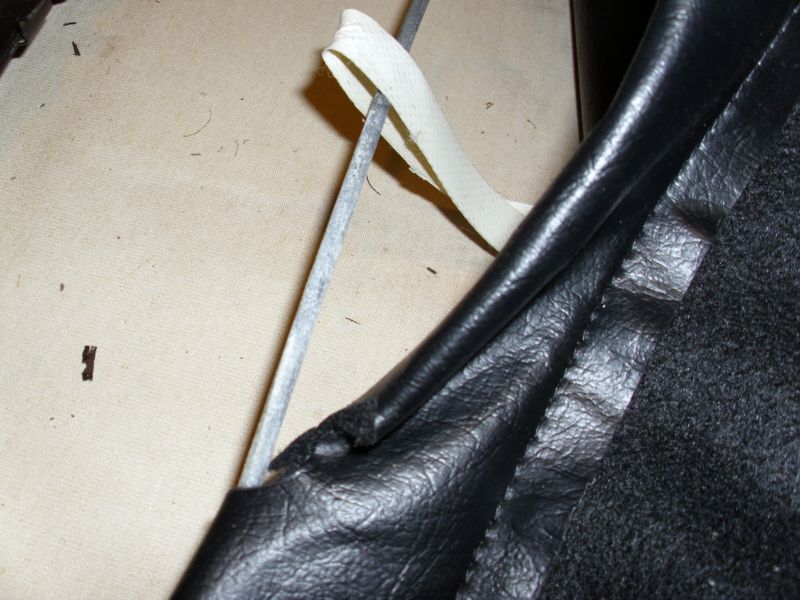
DO NOT CUT THE FRONT VINYL STRAP...UN-wind it from the cover by pulling out the front rod.
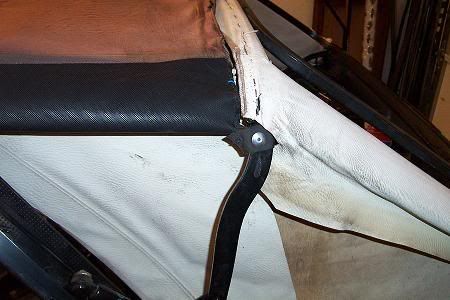
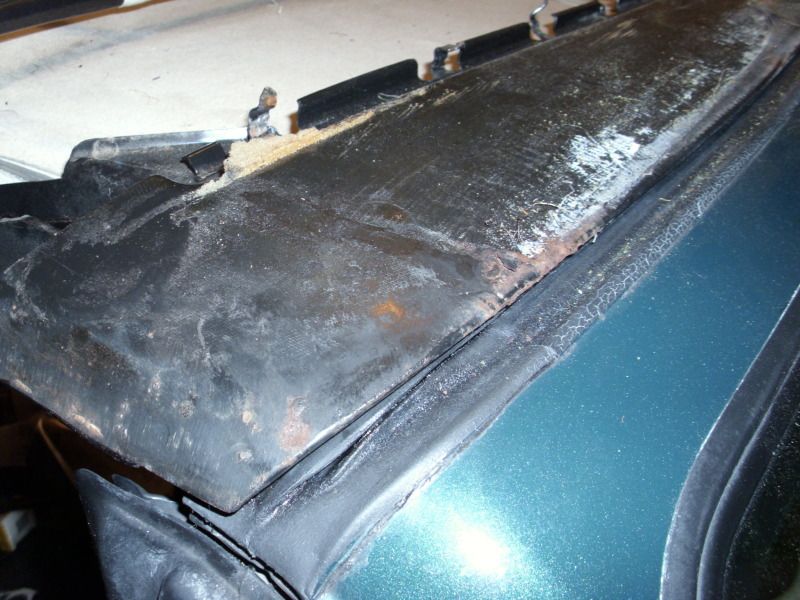
To remove the pad, cut the top pad rear corners off the rivets, you will be drilling the rivets out.
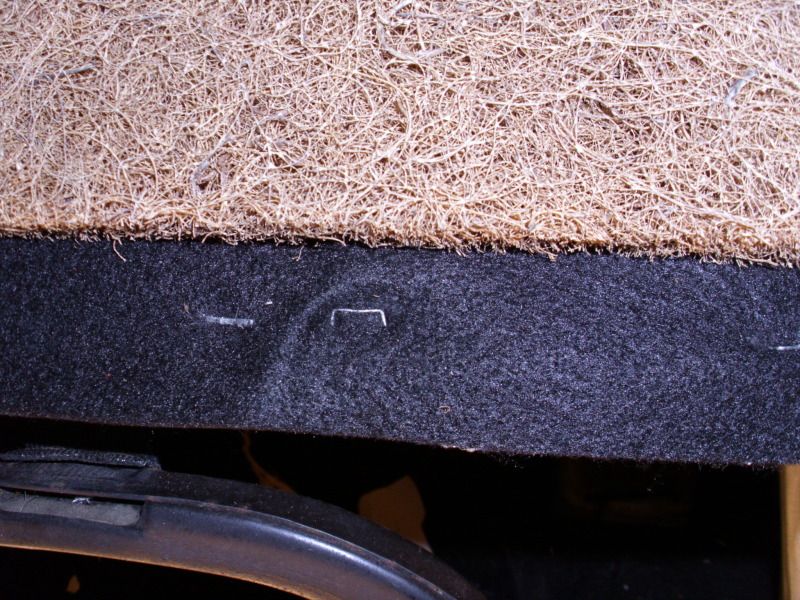
Remove the staples off the back bar, carefully pull them out, there are possible one layer outer,
and one layer under as the top material folds over itself. Leave a few to hold the headliner....
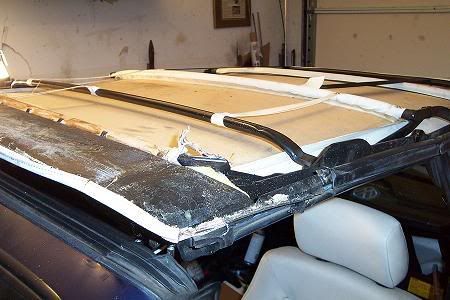
Pry up the fingers holding the top pad bar up.
Unhook the top bar from the left and right side keepers.
Remove the top bar from the fingers.
Then bend the fingers up
Pull out the top bar, and carefully remove it so that the center vinyl strap is intact.
Take the pad liner and lay it vinyl side down towards the headliner fabric side of the vinyl
of the pad liner is up.
It goes so the arch is at the front
The Arch goes to the fingers
Center it, take measurements and get it centered. (let the fabric drape to the floor...
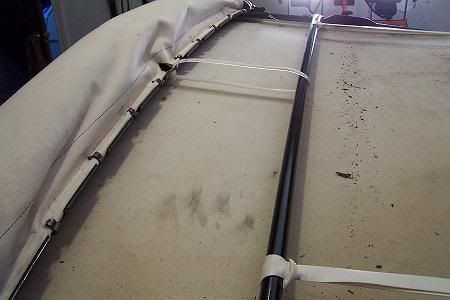
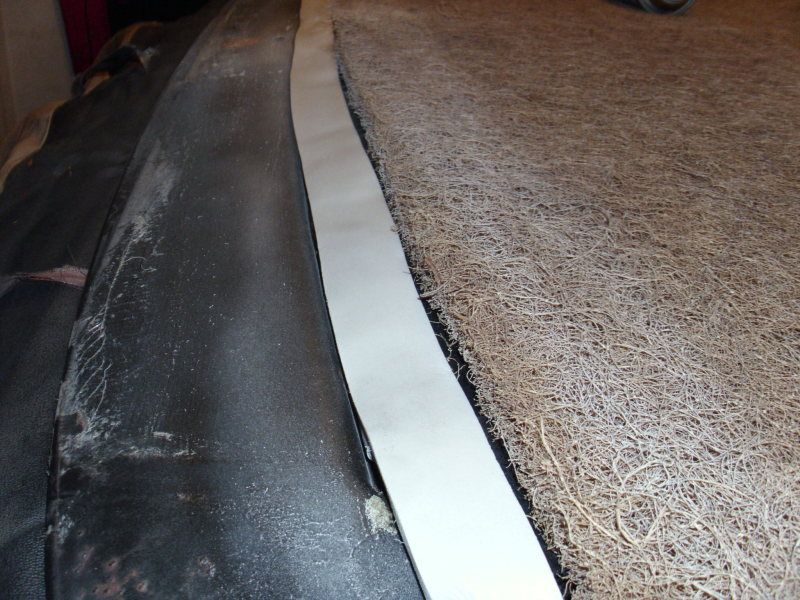
Once you are sure it is centered. Then you can thread the rod in to the loops.
You will need to Notch the center of the liner front lip to expose the finger.
As you are threading the rod be sure that with the bent ends facing the floor, that the
"V" bend is to the rear of the car.
As you thread the rod carefully place the vinyl strap on the rod by poking the rod through
the hole you cut in the center, and placing it over the rod then back in to finish threading it.
Pull rod to the front of the lip, then pull that to the fingers.
(A helper is nice as the rod has to go in to the catches on the sides prior to bending
the fingers) But you can catch the one side Bend one finger over then go to the other side.
You will be hooking the fingers through the vinyl and behind the rod, You can cut holes or use a
Leather Punch to make it a tad easier to get it.
Bend the rest of the fingers through the vinyl and over the bar. Be sure that you get the points
to lay flat.
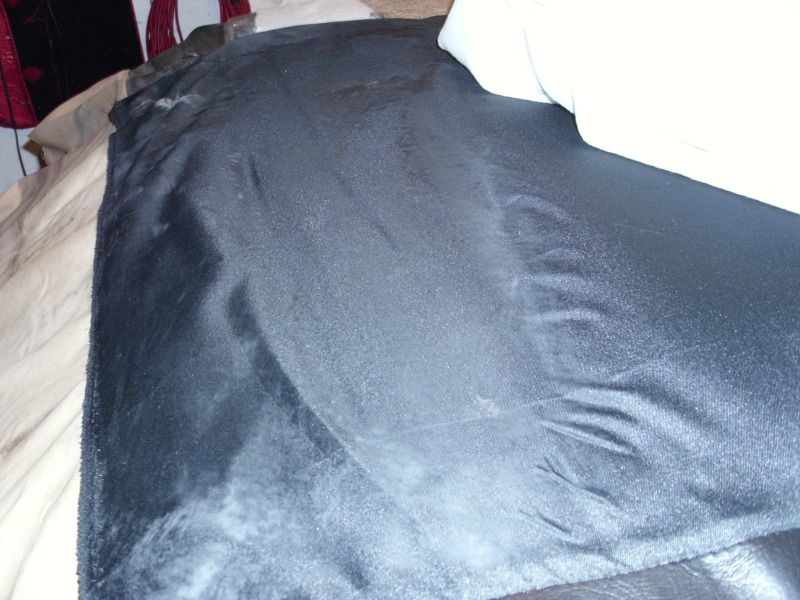
Now lay the material flat
Pull it to the rear, and shoot a few staples to hold the bottom piece of vinyl to the rear bar FULLY seat the staples pull any loose ones back out.
Place the pad so the holes in it are at the front. (curved or arched side) folded edges are on the bottom (against the headliner), and center it
MEASURE TO BE SURE....GET IT CENTERED.....
The Pad will stay in place where you put it....
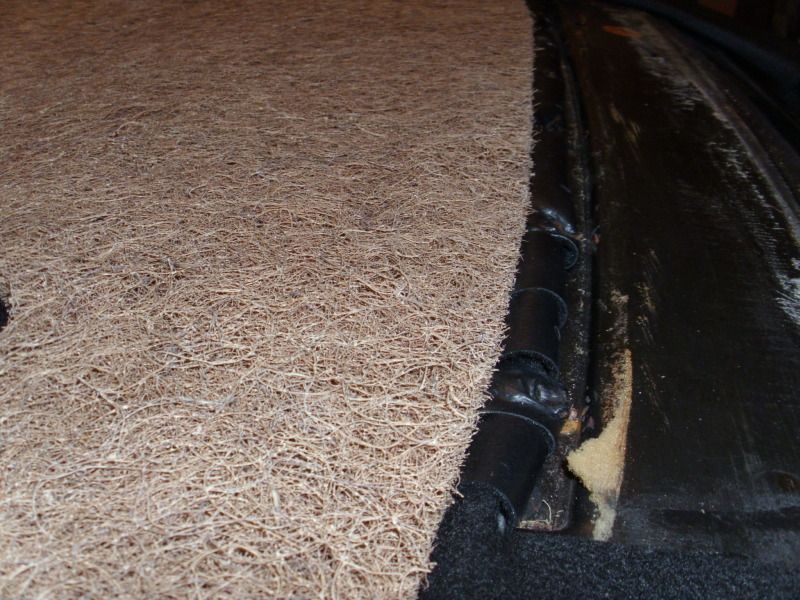
The padding gets placed behind the fingers right up against them.
Over the fingers I used stick back foam for a camper shell. I wanted a pad over the metal fingers.
Open the top and place a blanket in between the frame and the windshield to
keep the next couple of steps off the paint.
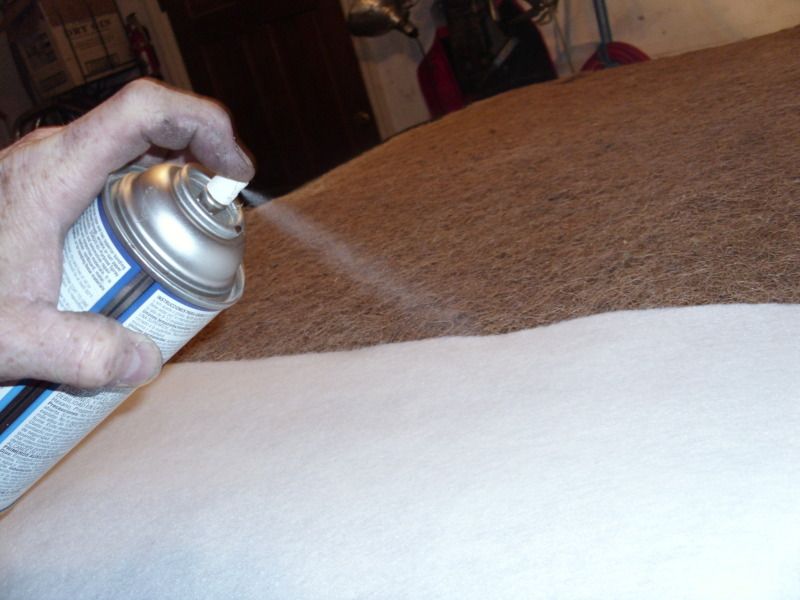
Spray Adhesive on the top pad, the foam, and about 3 inches on the front steel frame.
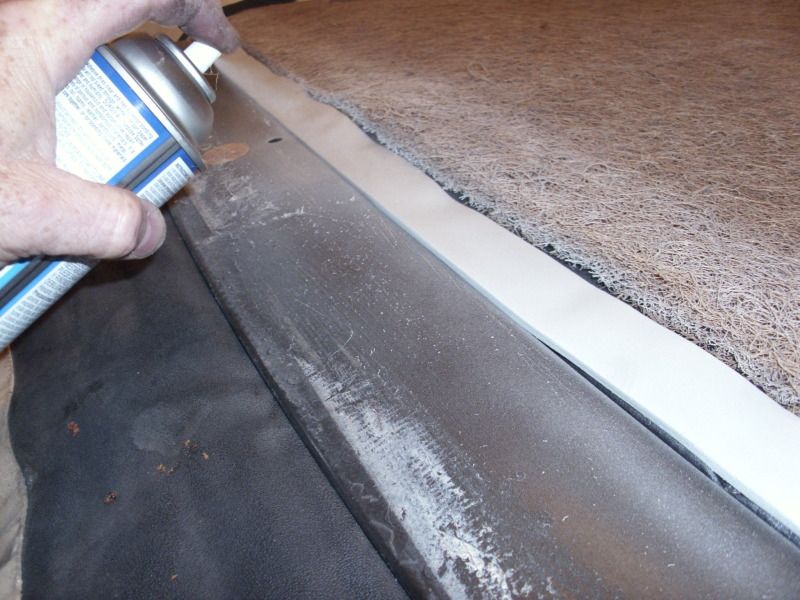
I used some Polyester batting that was about 1/8 inch thick, 2 yards, to create a transition
from the steel over the foam to the horse hair.
Sprayed adhesive on it (3m Super Heavy Duty Trim Glue). Allow it to dry.
When dry I carefully laid it smoothly on to the glued area, then trimmed it so that it was on the steel frame about a inch.
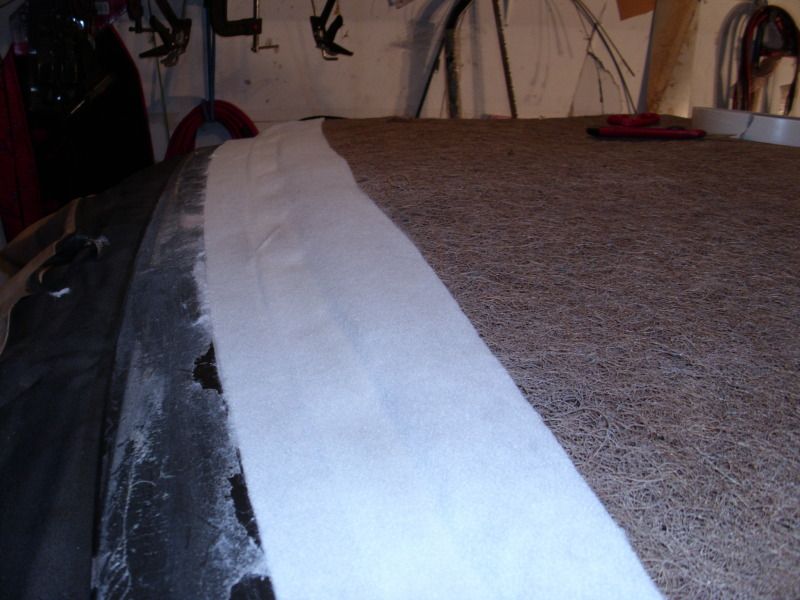
It will assist in keeping the horse hair in place at the front and prevent it from creeping down.
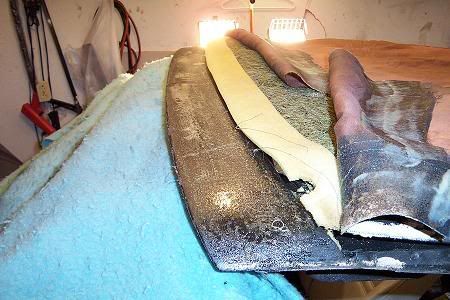
Now pick a side (I am doing the drivers side.).
Fold the material up and over the pad.
Roll the edge so it looks good and that the material is smooth and flat on the top.
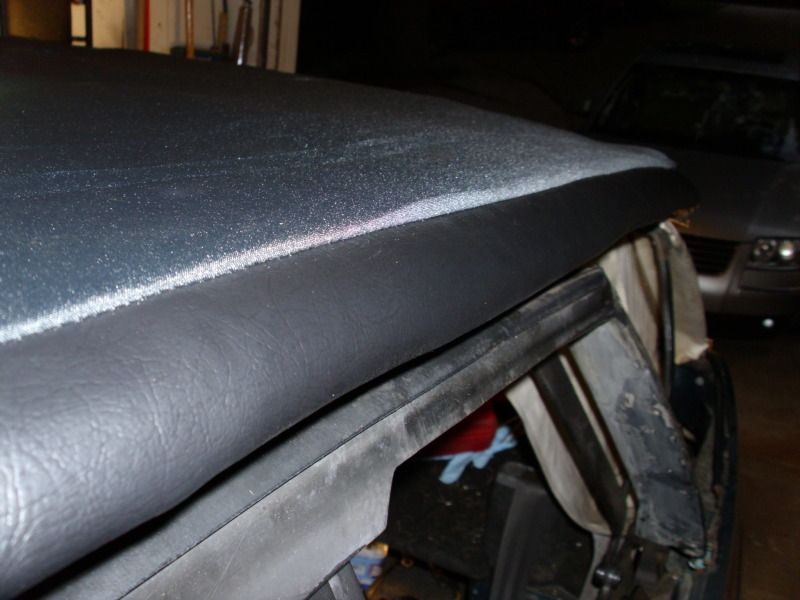
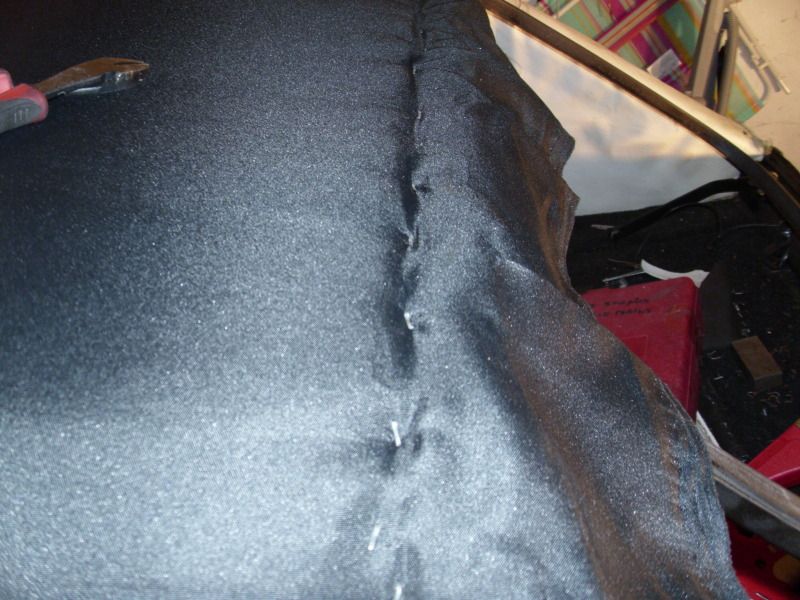
Using a couple of straight pins pin the material so it it flat and shoot a couple of staples
in the back bar to hold it.

These staples can be Temp, so if they don't fully seat no woories yet.
Pull the front material back, and place a cover between the material and the top of the
pad as you are going to be spraying more glue.

Spray glue on about 2 inches of the horse hair, the entire batting material and the
front steel frame.
Spray the underside of the material and allow to dry.
When dry, Carefully fold the material over smoothly against the glue.
Get it smooth.
Repeat for the other side as you are going to fold the material over itself.
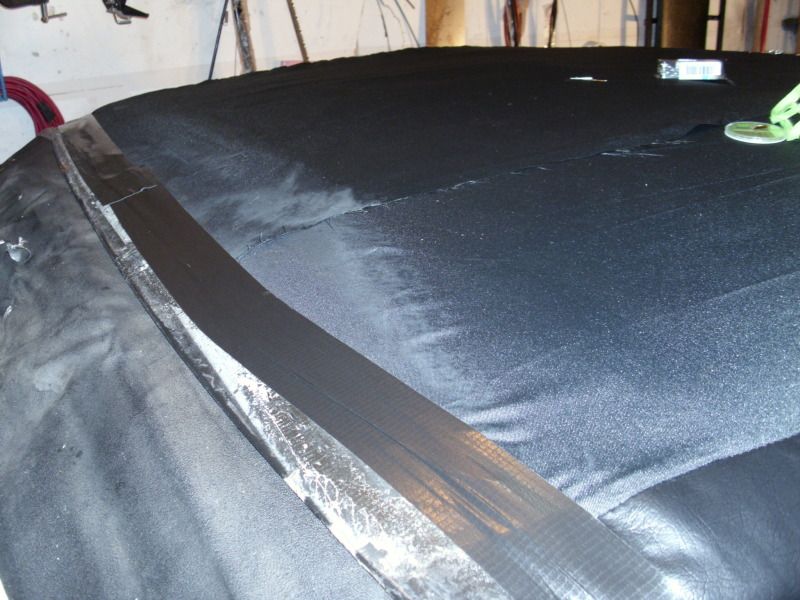
Trim it back about 1 1/2inches from the Front of the frame.
Top off with Duct Tape of your choice...
Now at the rear, you will be removing the temp staples, and
Getting good ones You have to fully seat the staples.
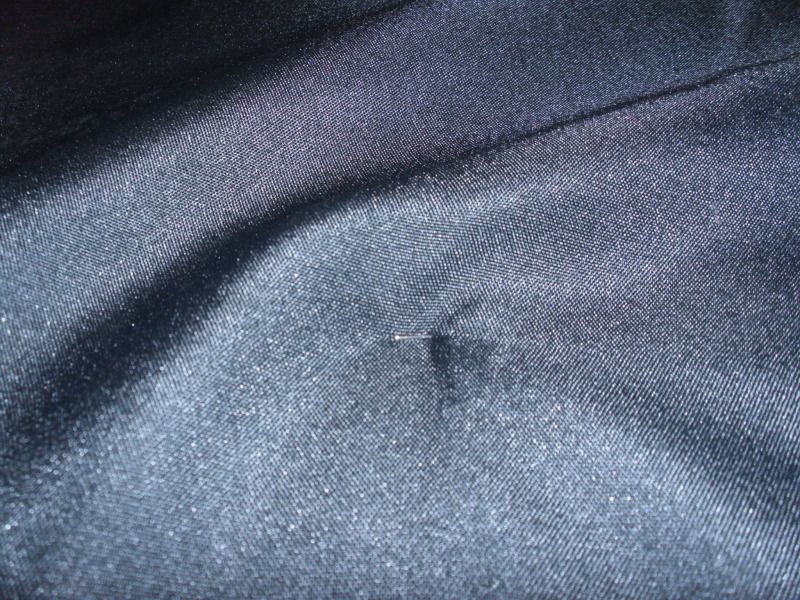
If they don't fully seat smack them in. They have to be below the pad. Pull any loose ones out
as they can come back up and pierce the top.
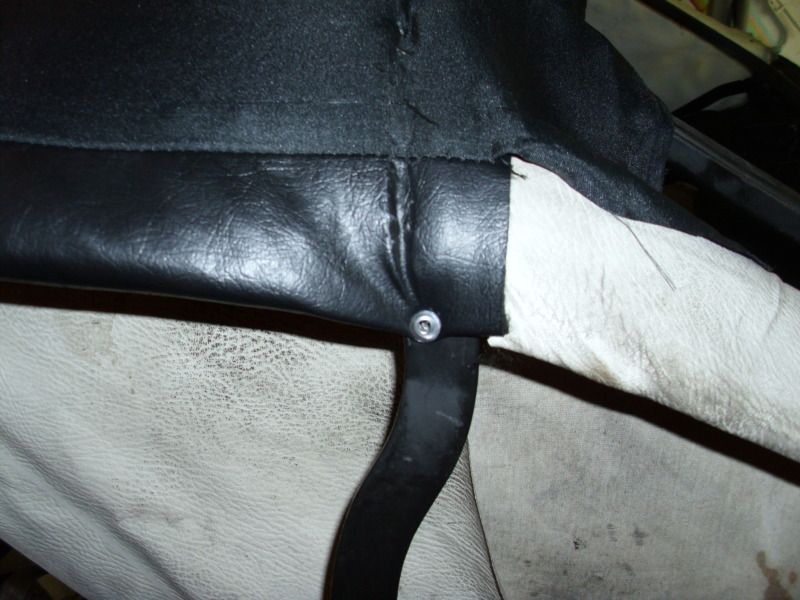
On the sides of the vinyl Pierce a hole through the vinyl where the rivet that
you drilled out was.
POP a new rivet to hold the corner down.

Smile your done......