Try this.
O dear, my water pump is nicht sie pumpin.
it is gerfunked beyond gerfunkin.
It is leaking faster than a Democrat creating new ways to tax me.
So I have joined the ranks after having changed out the pump only, Major pain in the ass as you have to remove timing covers and other crapola
It is Far easier and less the PITA to take it out as a whole assembly than to "follow" the just replace it as it is.
In my most humbled opinion.... you will have a easier day if you do the following.
NO YOU DON'T HAVE TO REMOVE THE TIMING BELT, BUT YOU DO HAVE TO REMOVE ONE 10MM TIMING COVER NUT, and the upper timing belt cover.
If you can visit a wrecking yard, get the bracket and barrel bolt adjuster off a 88 GOLF/Jetta as it makes adjusting the belts so much easier than the gear. You will need the Bracket, Barrel Bolt, and right side pivot bolt and nut, all are 13mm.
Disconnect the battery
Remove the 2 power steering res bracket bolts to allow you to move the thing out of your way while you are working.
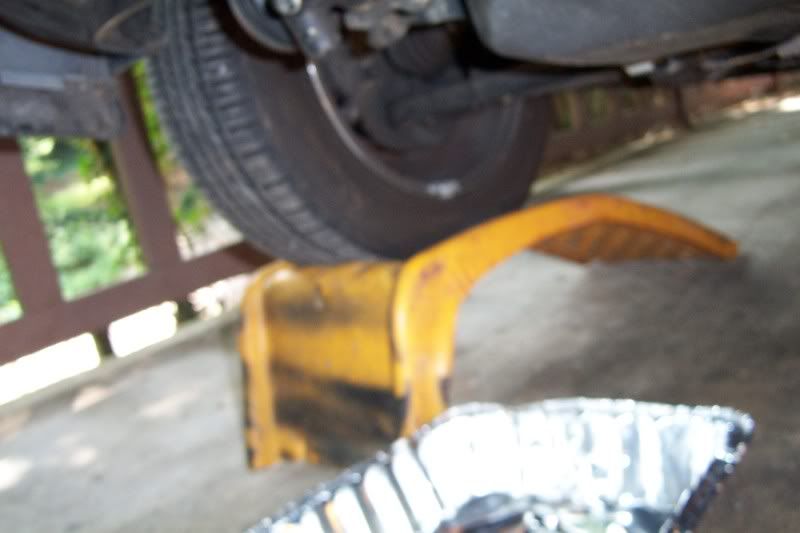
Jack the car and or support it on ramps and or Jack Stands.
Remove the 5 13mm bolts that hold the power steering bracket to the block and to the pump, the major pivot, and the 2 that hold the p/s pump to the
bracket, and the 2 that hold the bracket to the block.

Remove the thermostat housing, and be prepared for the Deluge Use only a 6pt 10mm socket.
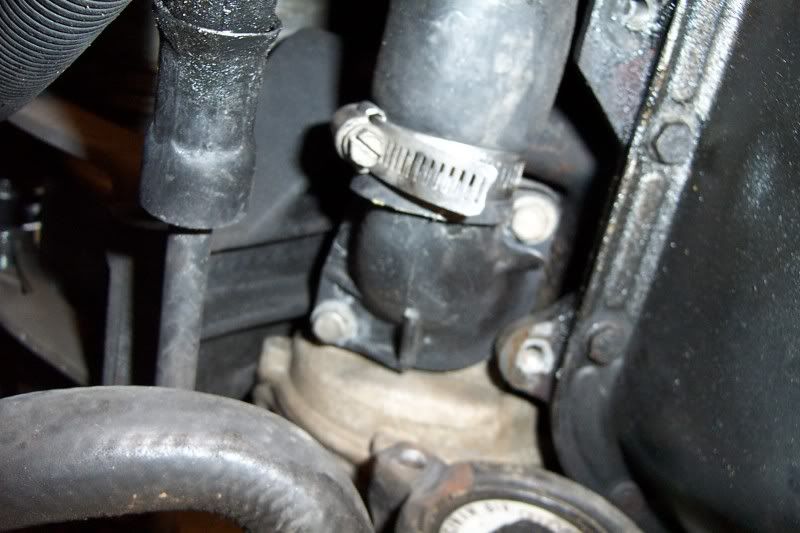
Have a pan available to catch the fluid.
Now once it has mostly douched you, you will see the thermostat, pry that out with a flat blade screw driver
and get a second deluge.
Remove the Alternator (see how to: http://www.mk1vw.info/modules.php?name= ... wtut&id=99)
Remove the upper radiator hose and the res hose. Bend them back and unwind them from your a/c hoses.
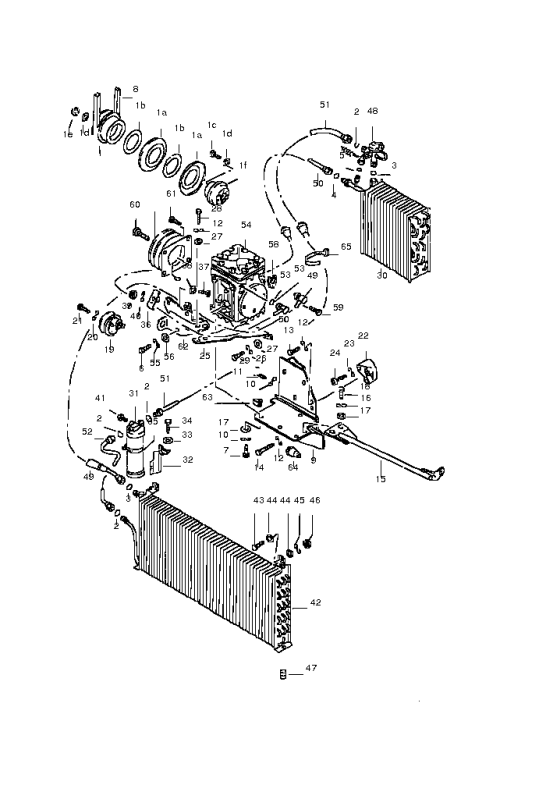
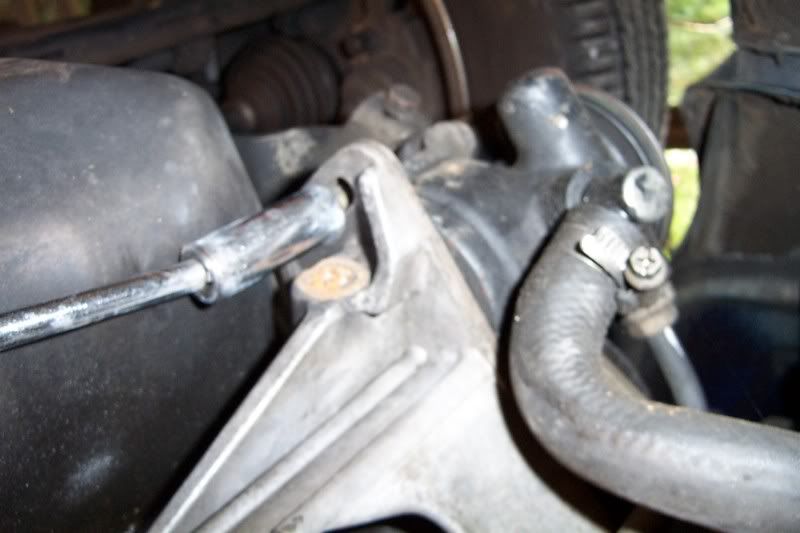
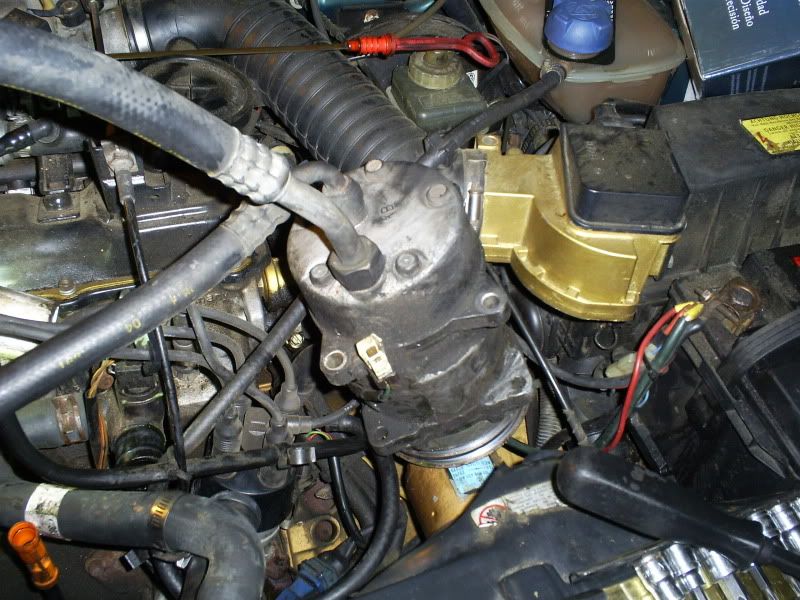
Remove the 2 13mm bolts and nuts that hold the a/c compressor and are the adjusters.
Remove the 2 8mm Allen bolts that hold the a/c compressor on the back.
Remove the a/c electrical connector.
Now Pry the a/c compressor out of the bracket.
Take the Belt off
Carefully move the a/c compressor out towards and rest it on the fan shroud.
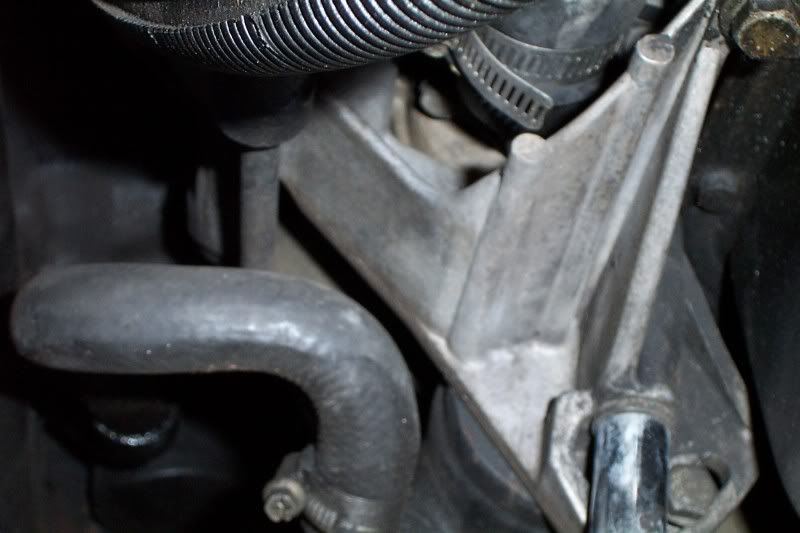
Remove the upper a/c bracket pivot bolt
Remove the 2 13mm bolts holding the a/c bracket to the block (These are 2 of the pump housing bolts too.)
Remove the bracket by pivoting it up, then using a pry bar pry it out.
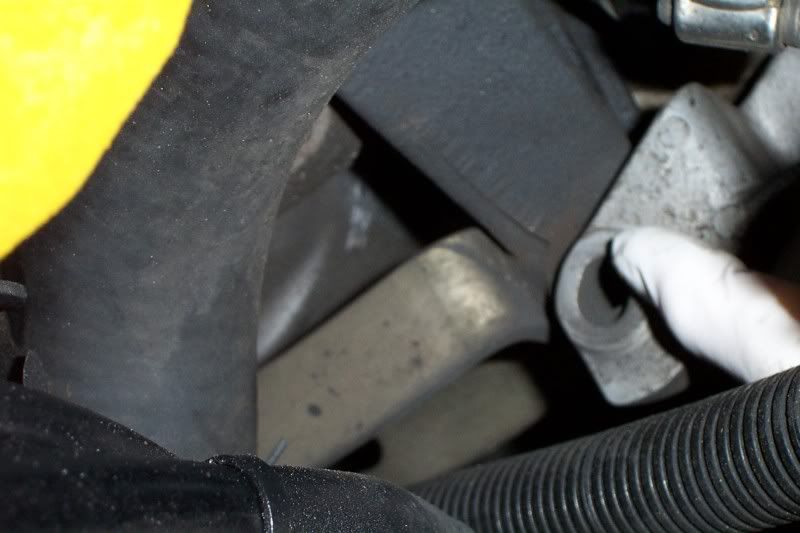
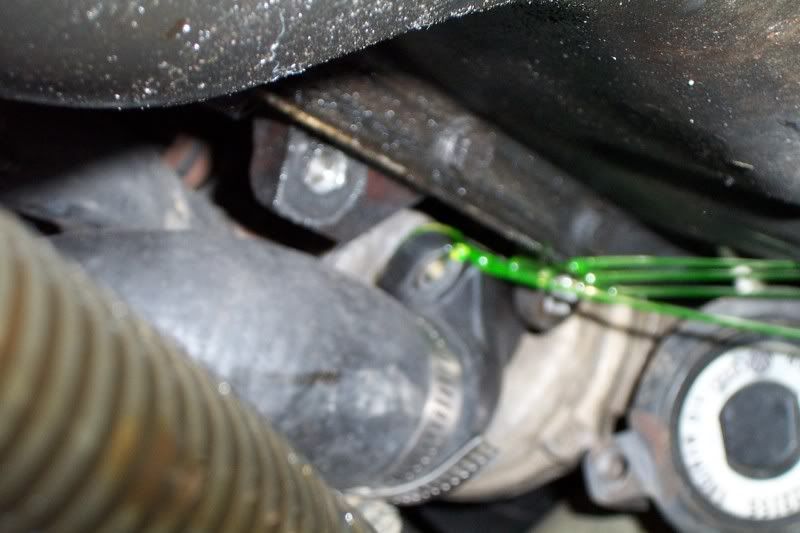
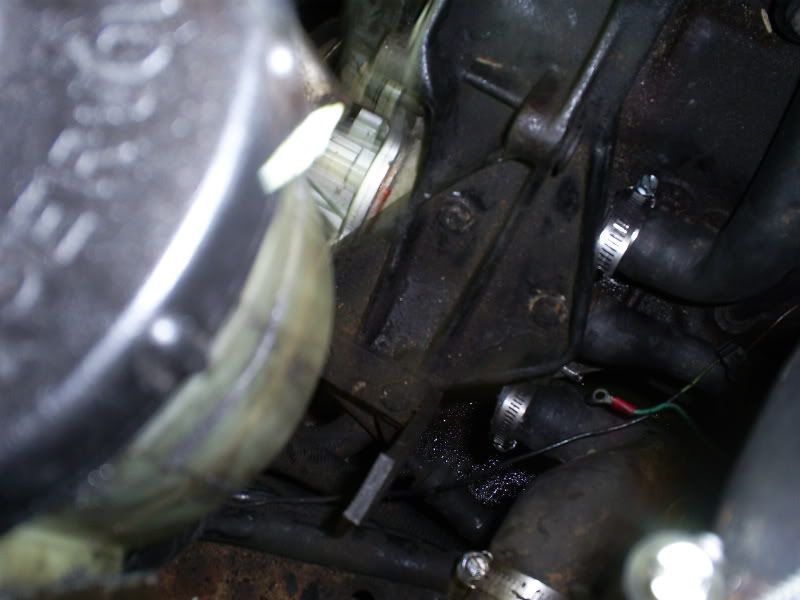
Remove the 2 hoses that are on the back side of the water pump.
Remove the 10mm nut that holds the timing cover to the water pump.

Remove the 2 remaining 13mm bolts that hold the water pump body to the block.
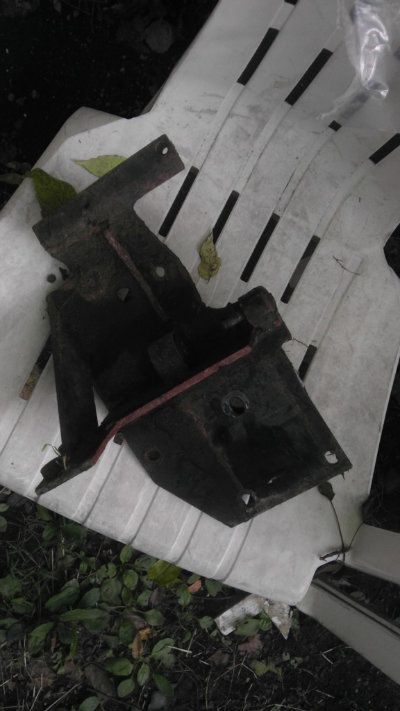
Wowsers it is out it is far by far the better method.
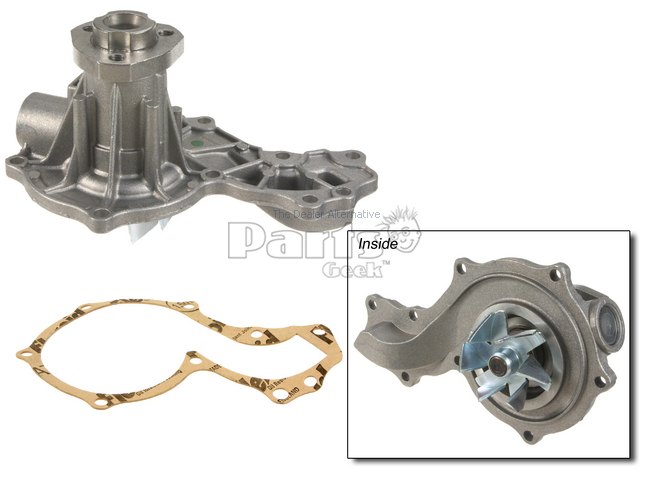
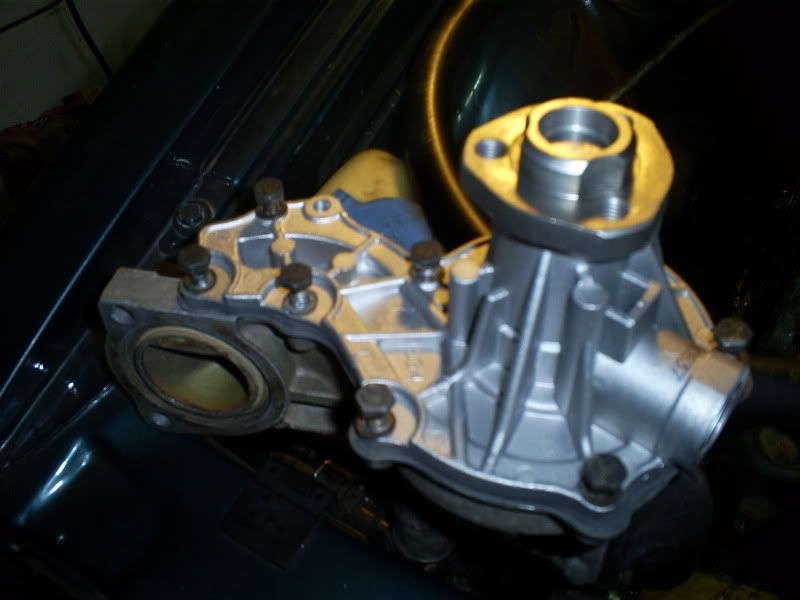
If you ordered a whole assembly, then clean off the mount area add a new o-ring and away
you go to replacing it.
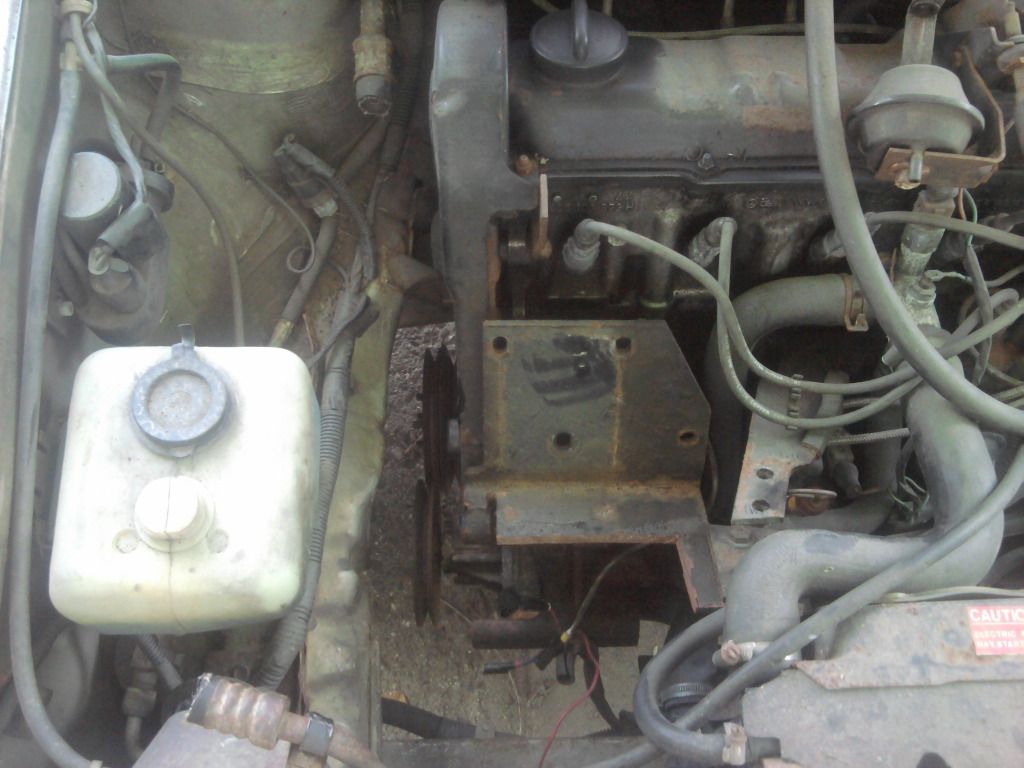
before

after

Be Warned that you have to place the Alternator belt on before the a/c belt.
You need to only torque the w/p and thermostat cover bolts to about 17in/lbs so don't go honking.
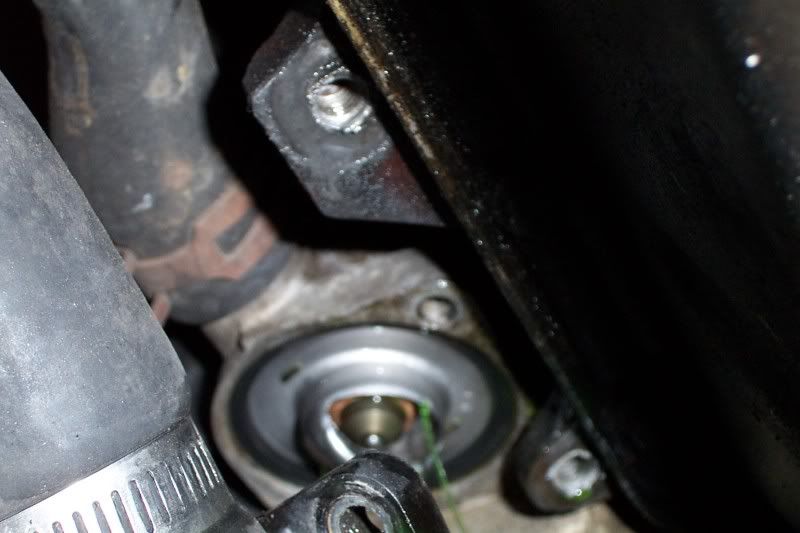
Even if you didn't order the housing assembly, you can now get the pulley off and the 10mm bolts.
You can spray the back side of the bolts with pb-blaster....
I didn't need a housing as I had a spare one, and even after removing my old housing my cordless
impact didn't strip or break any of the 10mm bolts that hold the water pump to the housing.
Be sure to clean the housing and lightly sand it.

Place the gasket on the housing, then the pump.
Clean all the bolt threads
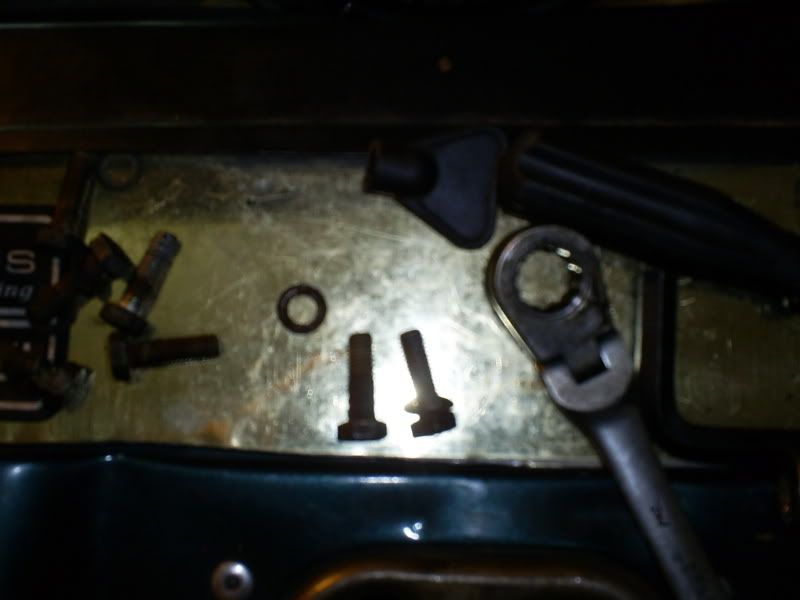
Hand thread all the bolts and coat the bolts with never-sieze
For added measure, coat the back of the bolts with a anti corrosive paint:

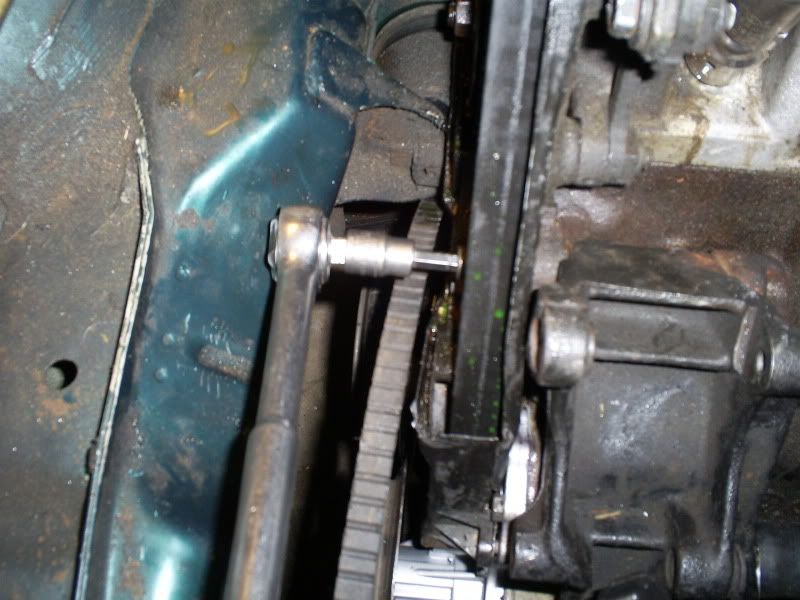
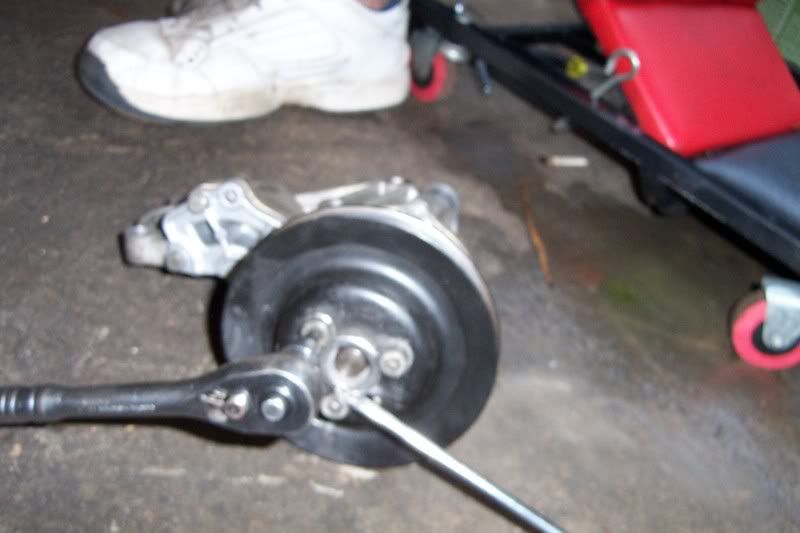
To move the Pulley over, I find that if I lock a Flat Blade Screwdriver between the bolt and pulley hub, I can use the floor
for leverage to loosen or tighten them at will.
When putting the the pump back on use all 4 bolts, as you want to align it so that all 4 bolts start easily...
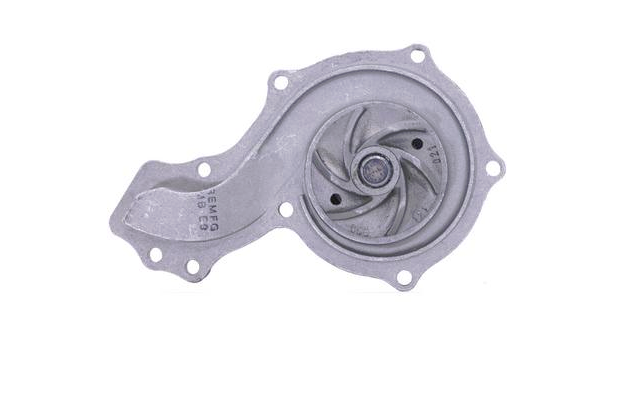
For those that wonder, I found a "metal Impeller" water pump locally at NAPA, sure I had to pay
20 dollars more for it but I am way happier to have the metal impeller......
Trust me when I tell you it is far easier to remove it this way than any other that you can think of.
Cheers