It is that time of year when leaves fill the rain tray plugging the drain holes with crap, well no more….. here are the Step by Steps to make your very own Vent Guard.
Parts
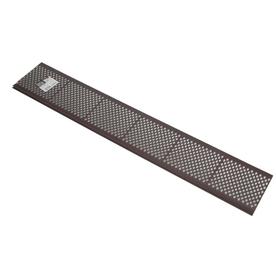
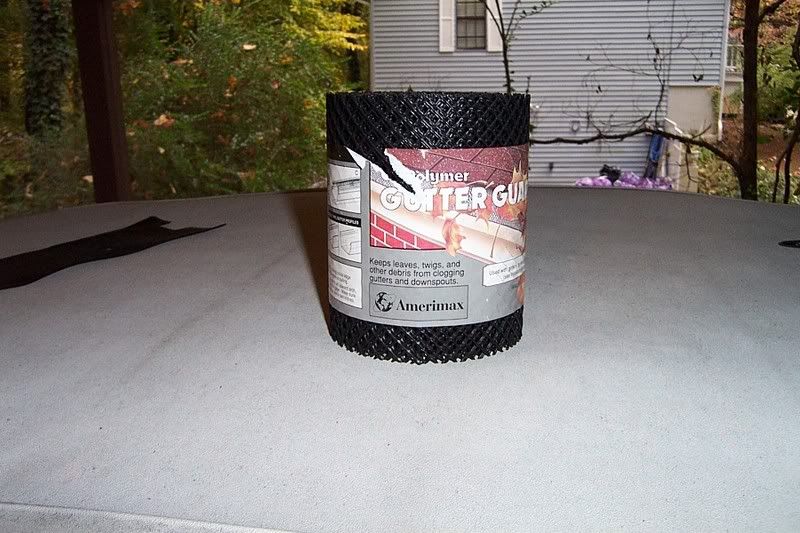
1 Roll of Plastic Gutter Guard
1 Wire Coat Hanger
Piece of stiff Cardboard 26” X 6”
Take a piece of cardboard that is square 6 inches wide and 251/2 inches long.
Cut the length to 251/2 “
At the extreme edges of the cardboard measure up from the bottom 4 ¾” and place a tic mark.
From the left of the cardboard measure off 2” lines down the length.
From the left at the first tic measure up from the bottom edge 4 ½ “
From the Right side first tic measure up 4 ½” up from the bottom.
The second tic from the right and left is 4 ¼” up from the bottom.
The third tic from the right and left is the same 4 ¼” up from the bottom.
The fourth tic from the right and left is 4 1/16” up from the bottom
The remaining tics are all 4” up from the bottom
Connect all the dots and you have an gentle arc that goes from 4 ¾” to 4” then back out to 4 ¾”.
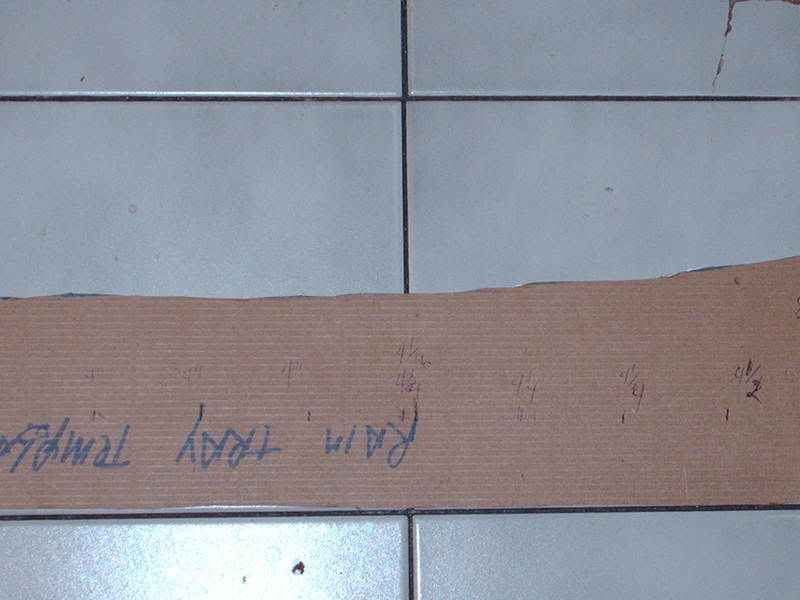
Cut out the arc.
Your template is done and should look like this
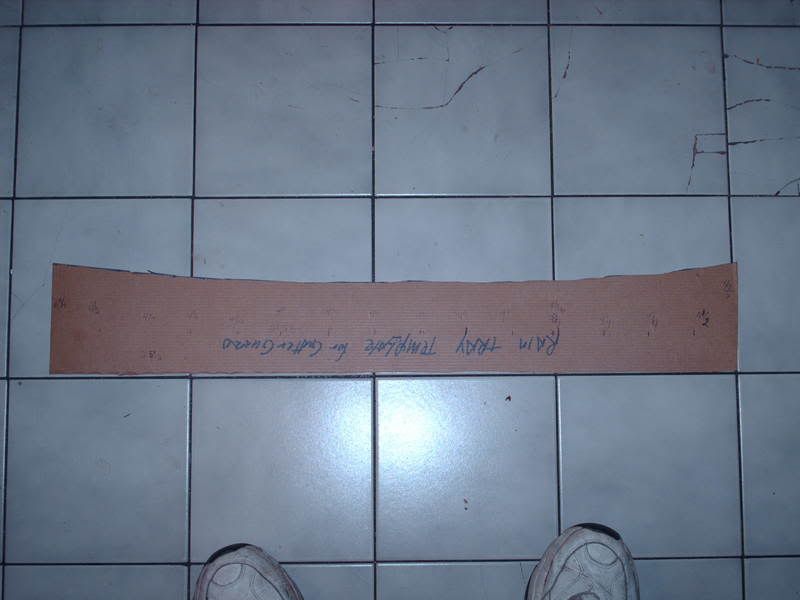
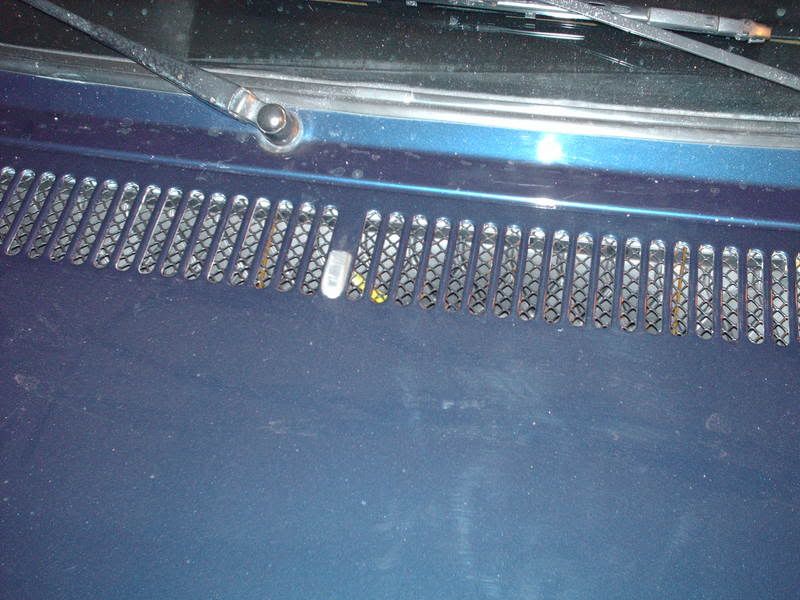
Now cut a piece of gutter guard that is 25 ½” long, Place it under the template.
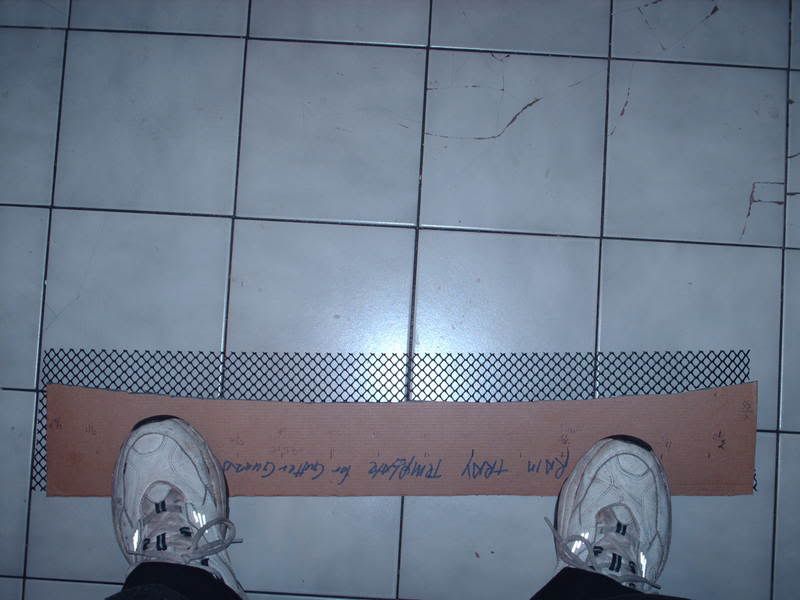
Draw a line to outline the template onto the guard. (I used white acrylic paint).
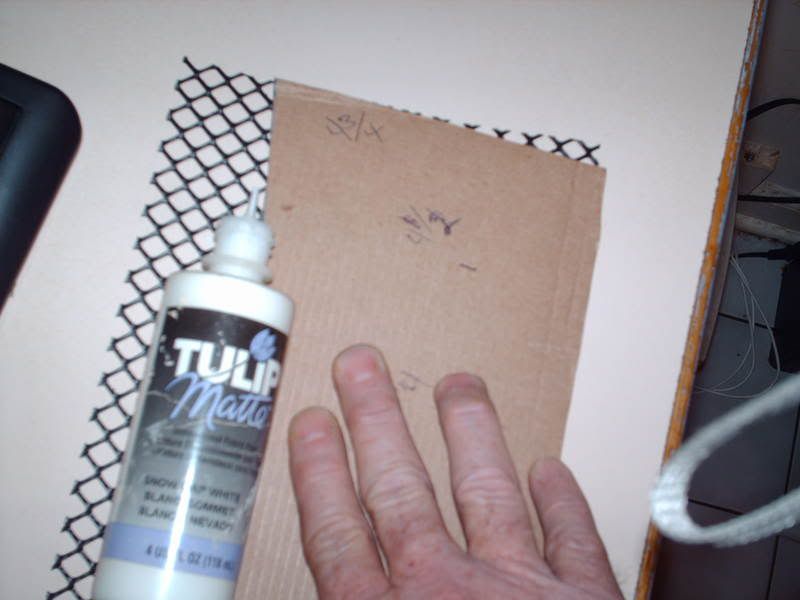

Cut out the gutter guard along your template line.
Take a wire coat hanger, and make 4 lenghts of wire that are 5 inches long. Make two bends in them so that the distance between the ends of the bends is 4 ¾” long.
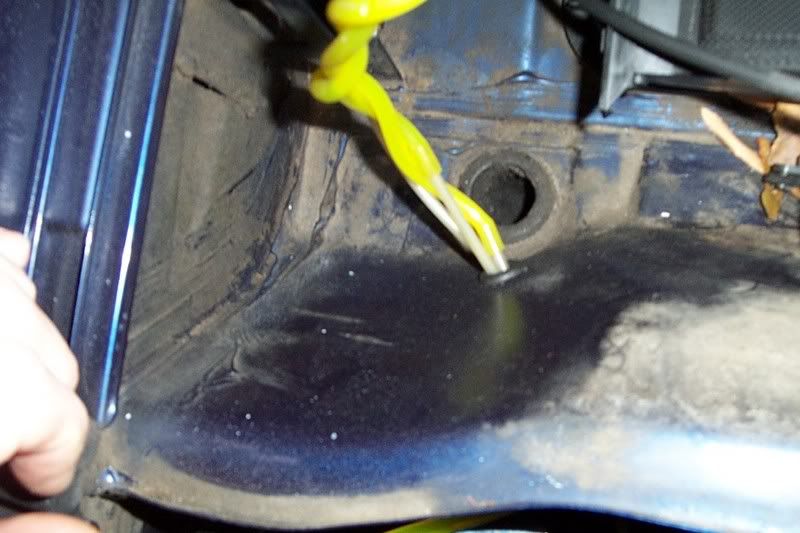
Take the hose off your windshield washer nozzle.
Place the Vent Guard in to the trough and place the nozzle through one of the holes You may have to fidge it to the left or right a bit.

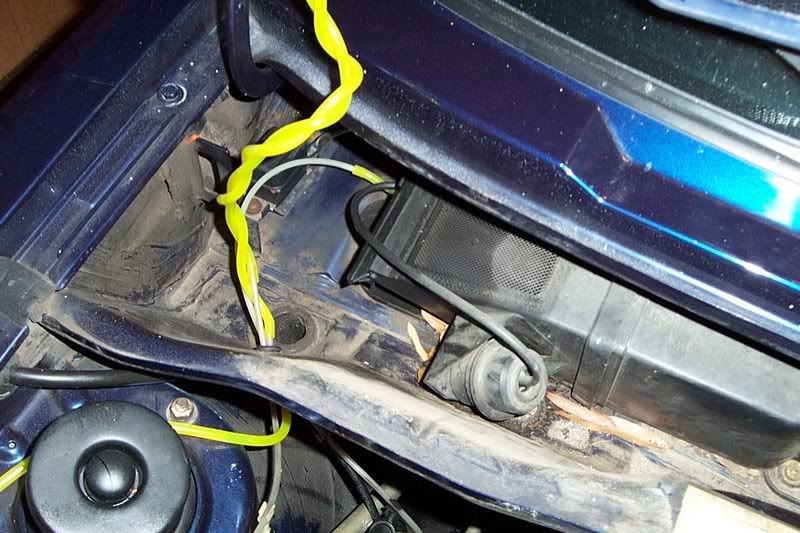
Now take your wire hangers and force them on the far edge of the tray into the top and bottom troughs and move them to the left or right to tighten them place the next one between the far edge and the nozzle. You can place them under one of the Vent Rails so that they won’t be seen from above.
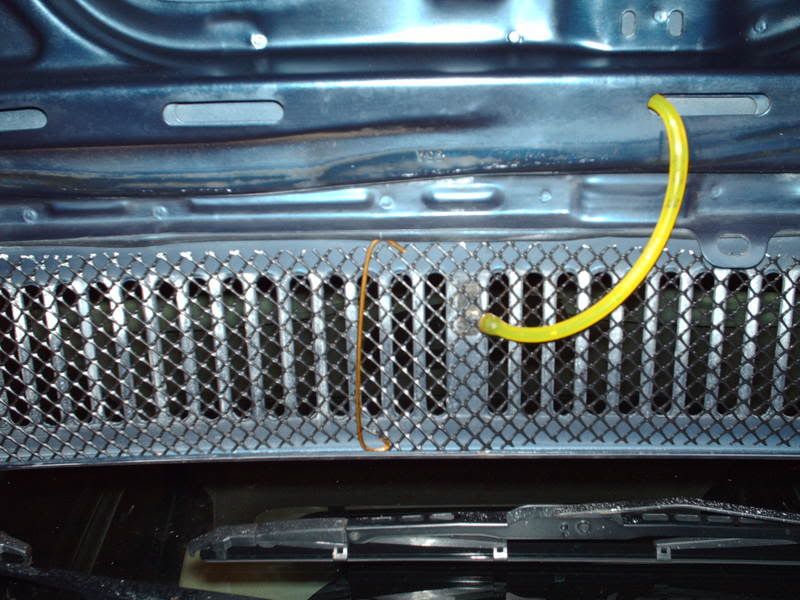
Reattach your Windshield washer hose to the nozzle.
You are finished.
To good fixin.
Brian