My heater control lever for the a/c, full front, and defrost started acting up, and then stopped moving the
vacuum distributor all together. You have to remove the DASH Bezel.
Disconnect the Ground off the battery.
Remove the Radio.
Remove the heater knobs.
Remove the heater fascia plate and unhook the lamp wires.
Remove the fan switch.
Remove the Light switch
Remove the hazard, defroster switch from the Fascia Bezel.
Remove the DASH Bezel.
Remove the 2 Phillips screws holding it to the dash.
Carefully lift it out of the cradle. (be mind full of the a/c temp sensor, ie: DON'T MANHANDLE)
Remove the Clip holding the cable.
Cut the wire tie that hold the wires at the rear.
Remove the 2 red capped wires off the switch on the right that goes to the a/c compressor, these are the 2 that
you would remove if installing a a/c cut out switch.
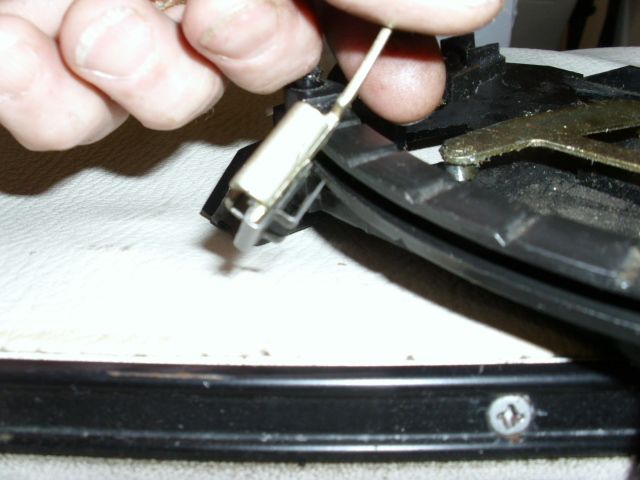
Remove the Phillips screw that is holding the a/c thermo-switch on the left, carefully remove the switch from the housing,
and make sure you don't loose the selector arm.
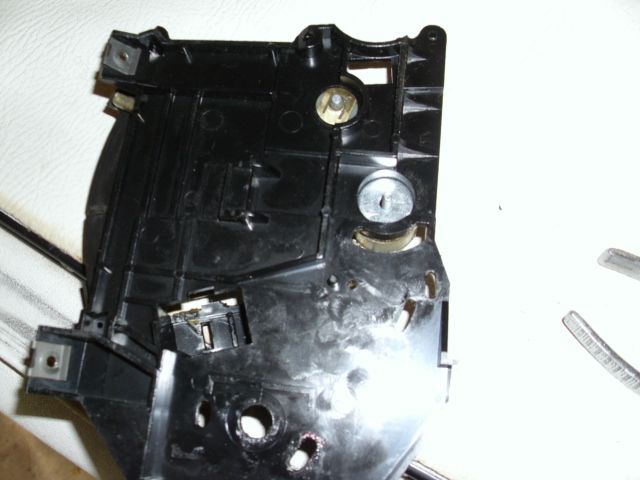
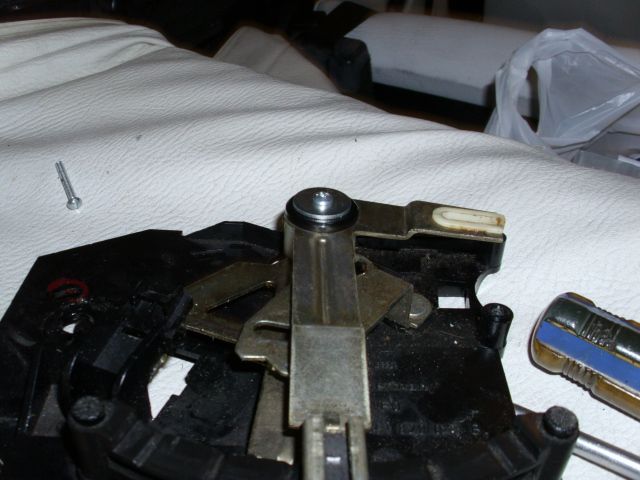
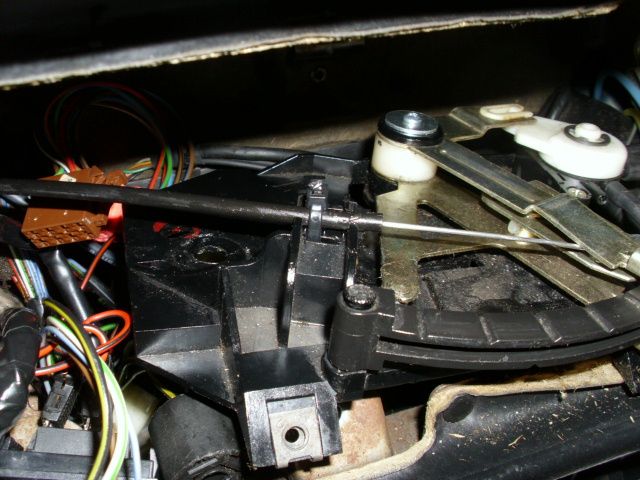
Remove the 2 Phillips screws from the vacuum distributor, and separate it from the control unit.
Carefully remove the Control unit from the dash.
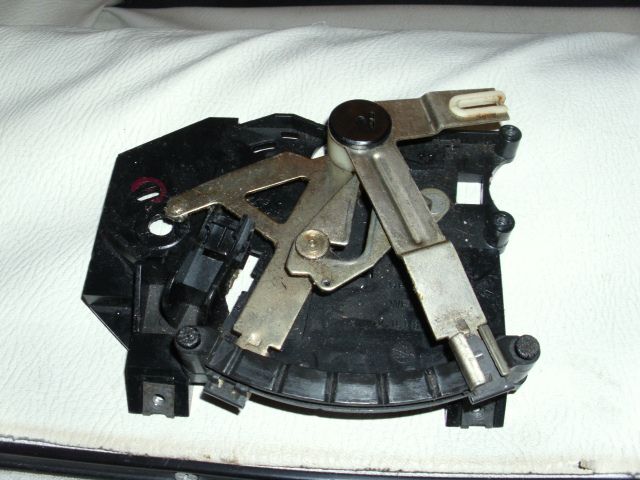
Note that the arms have keepers on the front.
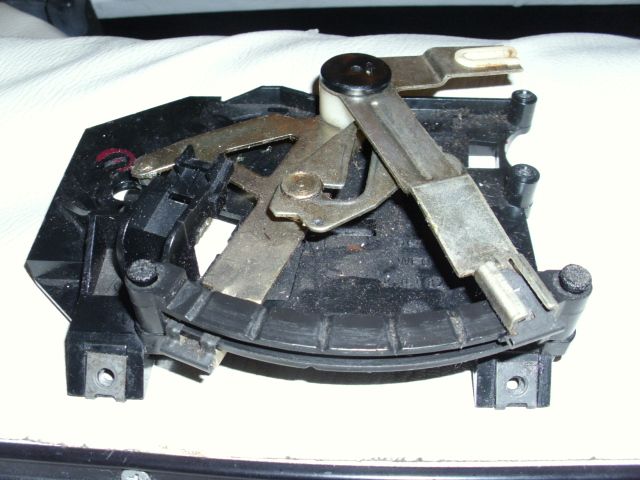
The Issue that I had was the plastic finger broke on the arm keeper cap.
I found that a nuber 6x32 1 1/4 inch machine screw fit very nicely into the pre-existing hole.
a number 6 small fender washer was the pip as it fit directly in the recess at the bottom.
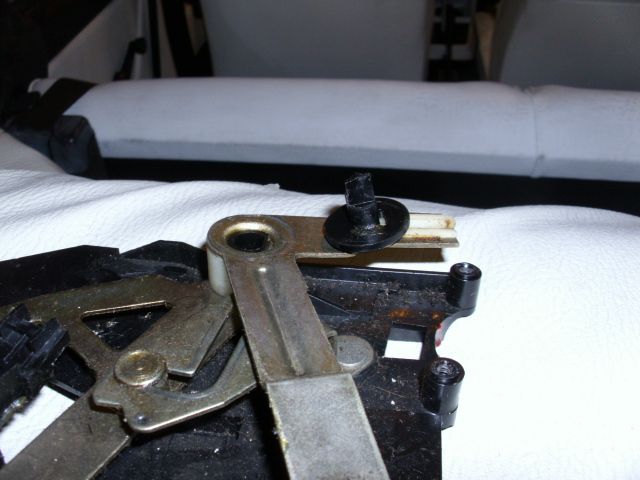
I used a 5/32nd drill bit and drilled the cap into the housing assembly. (The cap is keyed, has a flat spot on one side.)

Remove the cap, and the arm lever, and the nylon bushing. Apply Grease to all the pivot areas.
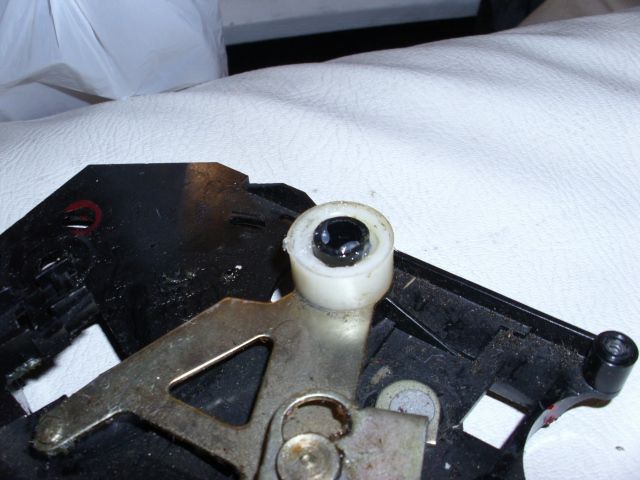
Replace the nylon bushing, and the upper arm, then the cap.
Using a fender washer over the hole, insert the screw from the top.
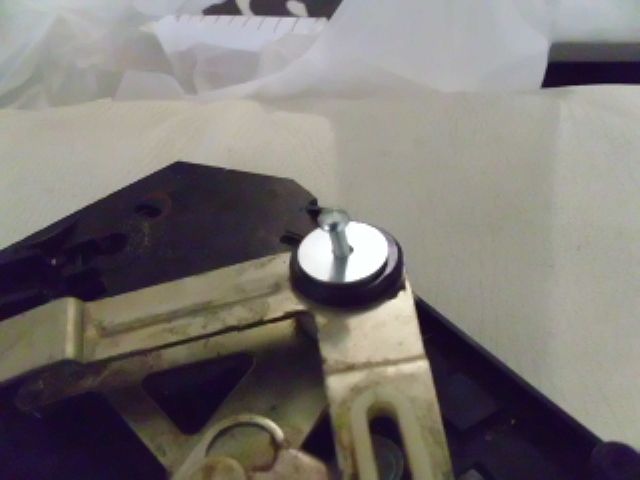
On the underside place the fender washer over the screw.
Use a Self Locking 6-32 aircraft nut on the screw and tighten. Make sure that your arms pivot easily, and loosen to adjust.
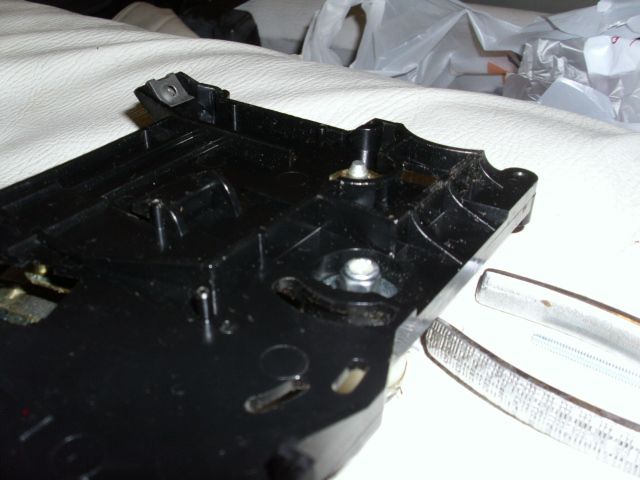
Here is the end result:
Now when reversing the steps needed to replace the control assembly here are a couple of good tips.
USE A SMALL PHILLIPS.
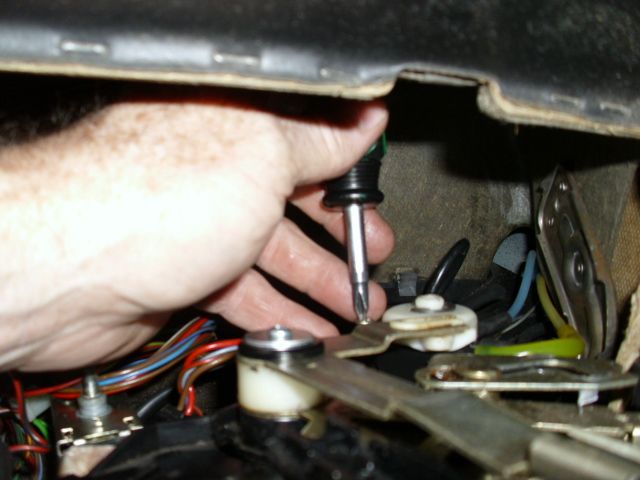
DO NOT OVER TIGHTEN THE SCREWS......
If you lost the clip for the cable, you can use 2 small wire-ties to secure it, be sure that you get them tight, and that you move
the arm to cycle the cable to make sure it doesn't move in the housing.
When returning the thermo-switch to the housing assembly, after you have the screw in, prior to replacing the control arm on.
take a number 8 flat washer and place it over the switch shaft. This will bring the control arm up, and more firmly
engage the slider. It will also keep the control arm from leaving the slider arm on moving the control to the full hot.