90-93 cabby Automatic shown no Cruise.
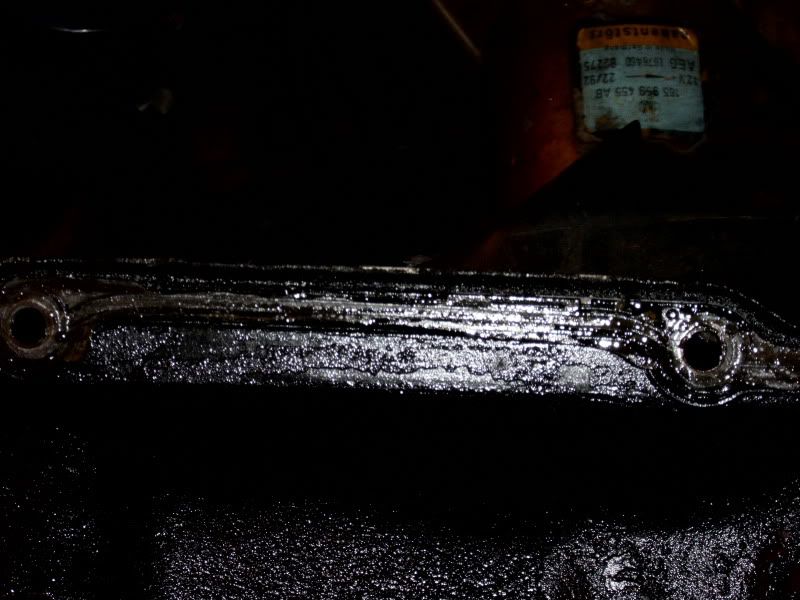
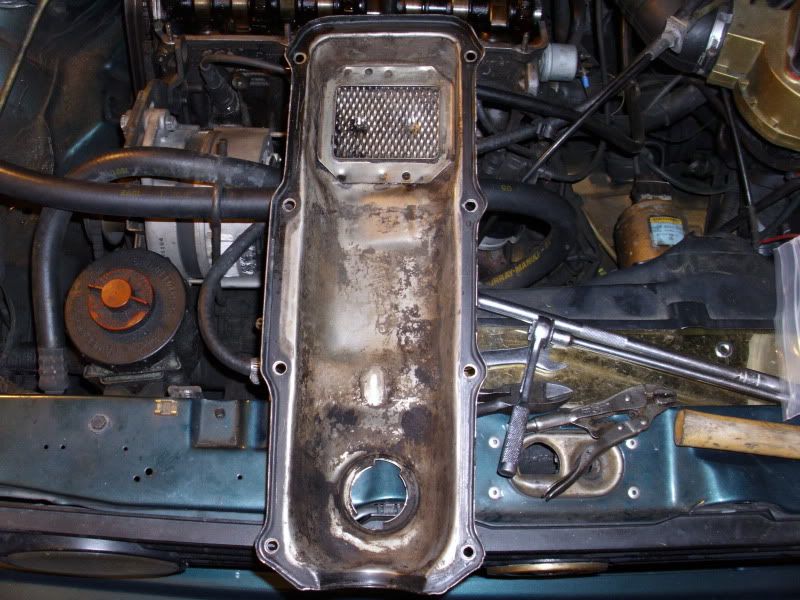
The Better Gasket is from Victor-Reinz
It is for a 1990 VW Corrado 1.8L 8V engine
Victor Reinz number 71-31692-00
VW 037-103-483c
It is the Valve cover Upgrade from German Auto Parts that is metal re-enforced. Now you know the main part number you can probably source it locally.
You will need 8 -non-shouldered studs if you are going to use that gasket.
If you have a Upper Sway bar you will need to remove
it.
Slide the keeper off the Accelerator cable.
Loosen the Jam nut and Slide the cable assembly et all off the
valve cover.
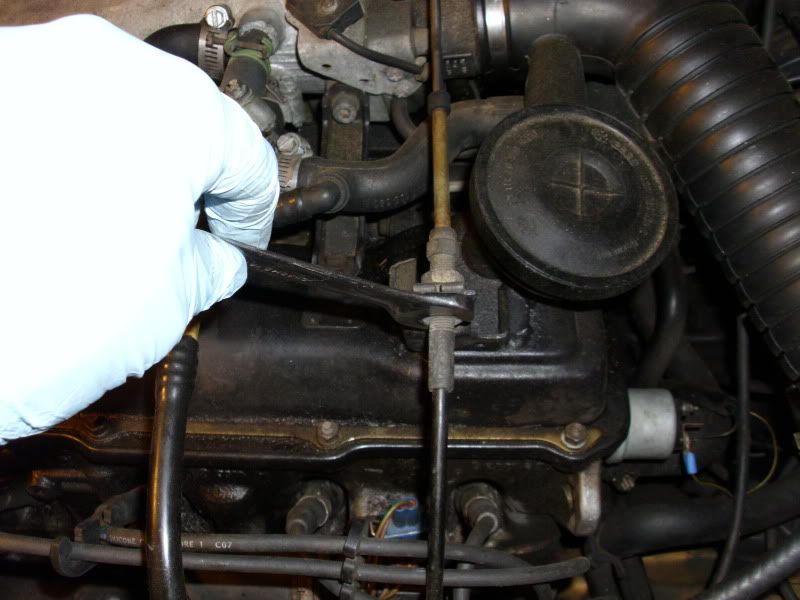
Carefully place it to the side.
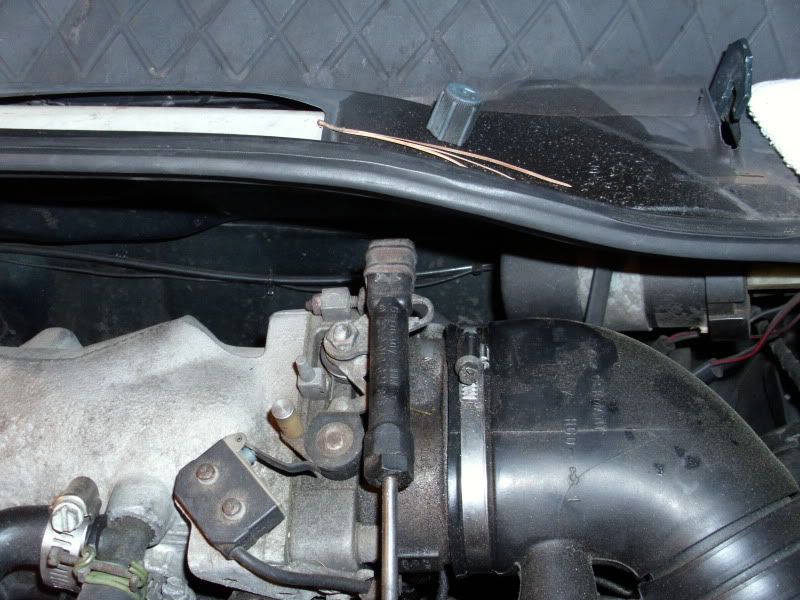
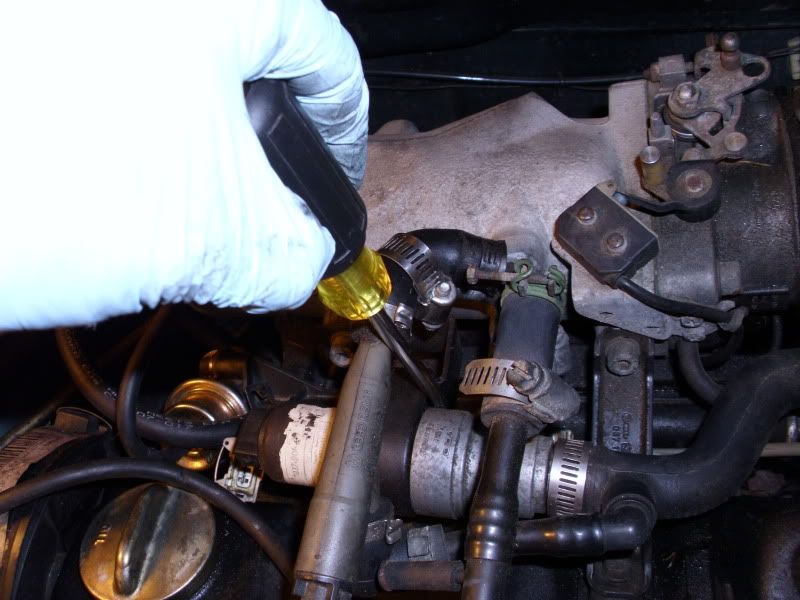
Remove the hose clamps that hold the Vacuum lines to the Throttle
Body.
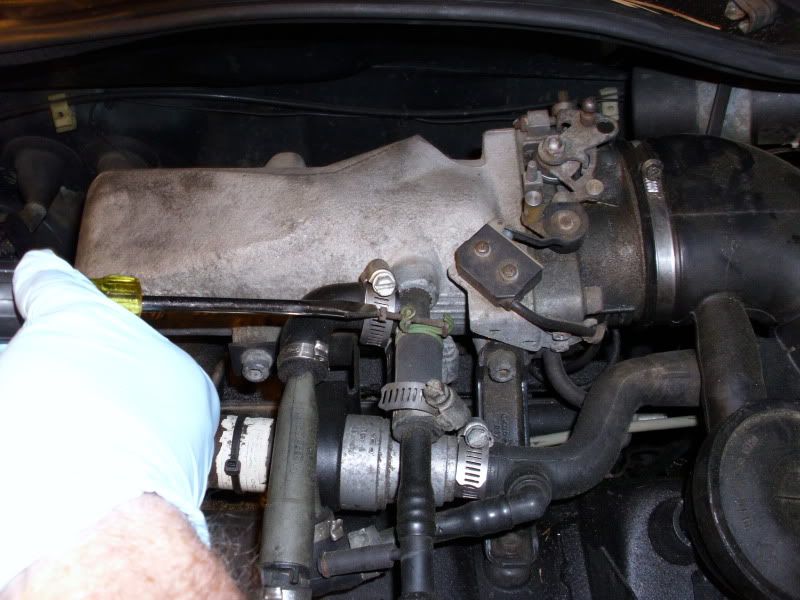
Use a Screw driver to pry the hoses off.
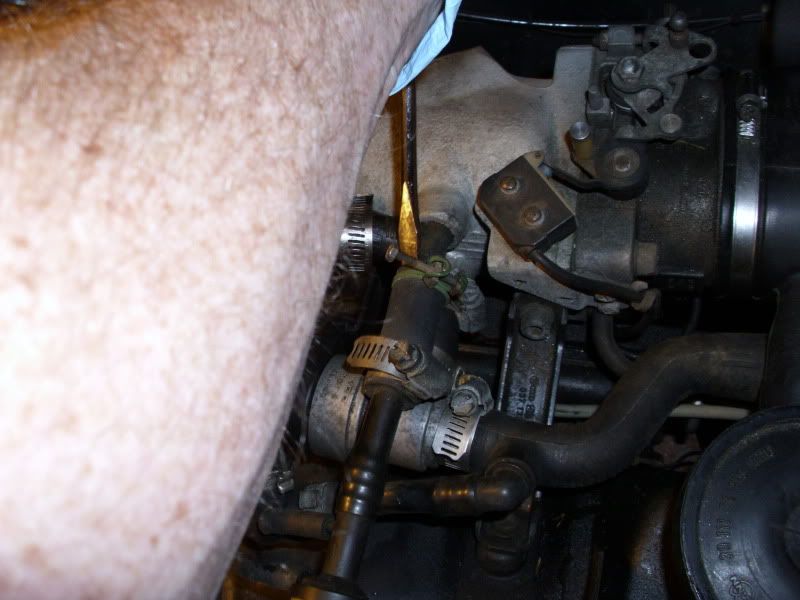
Pull them off Gently....
Be VERY, Very careful of the hard plastic brake line at all times.
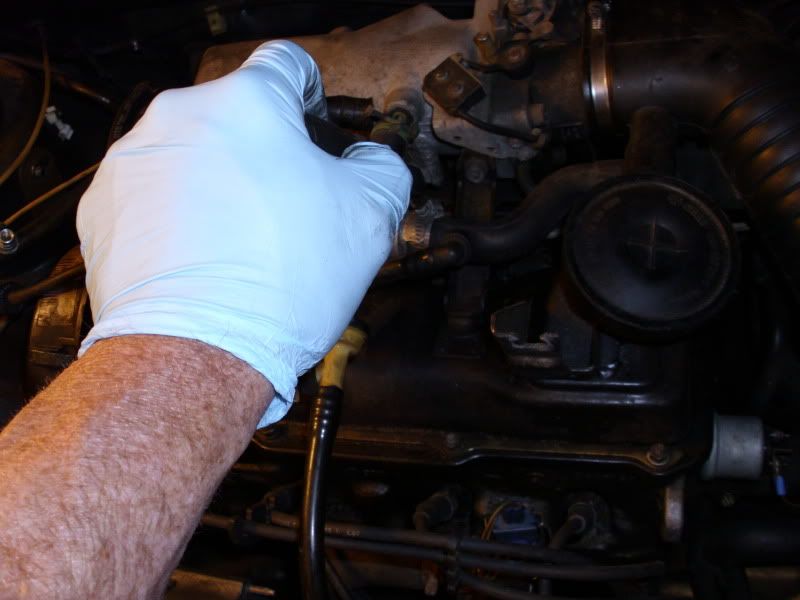
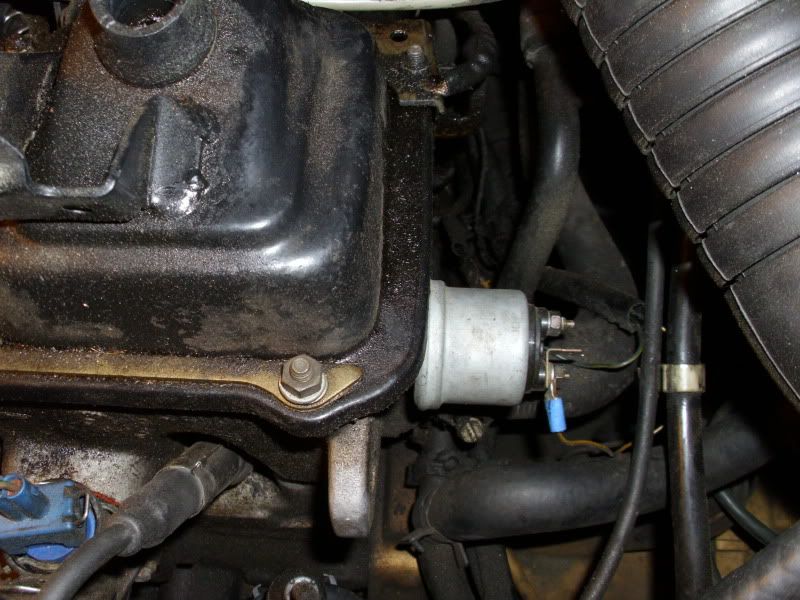
Remove the connector off the ISV
Pry the ISV Rubber Donut Holder off the Bracket remove the ISV
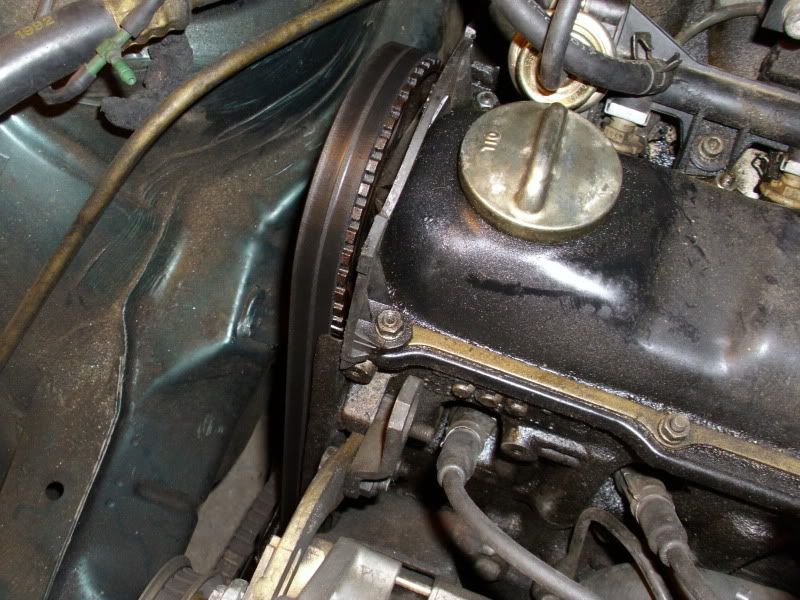
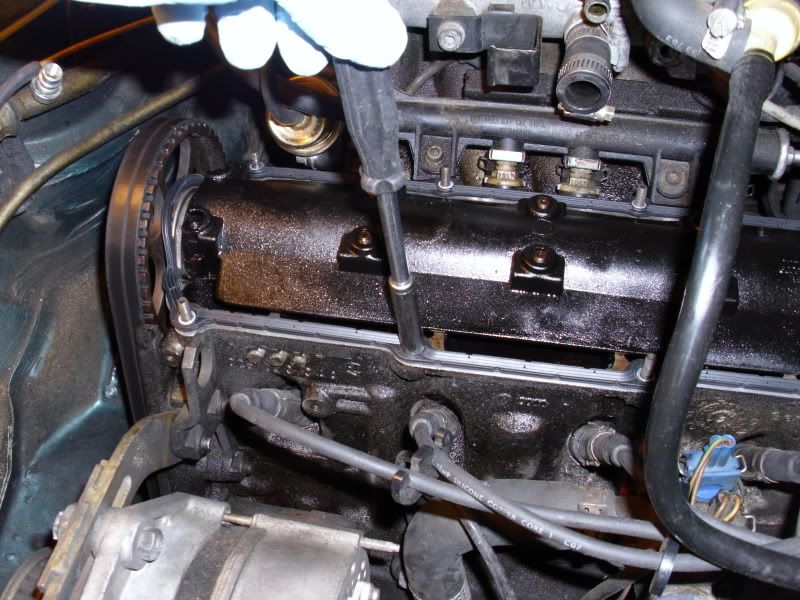
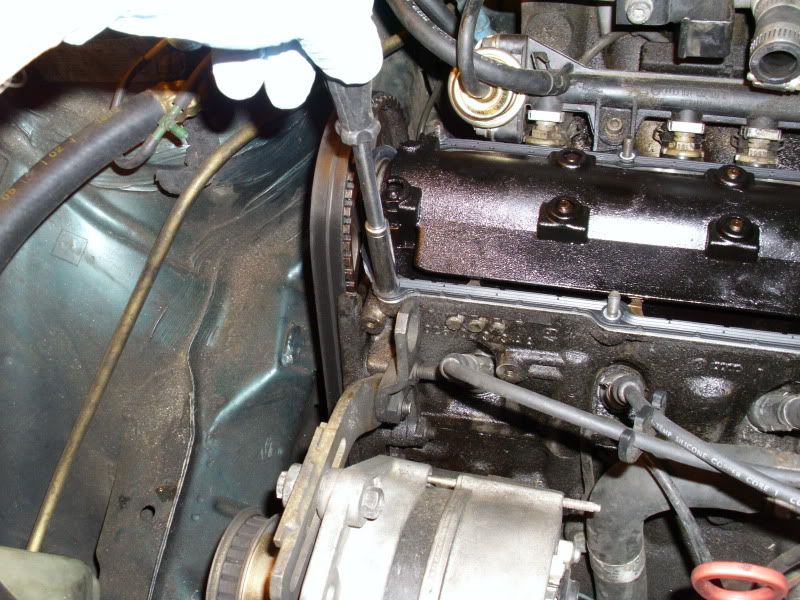
Remove the Timing Cover.
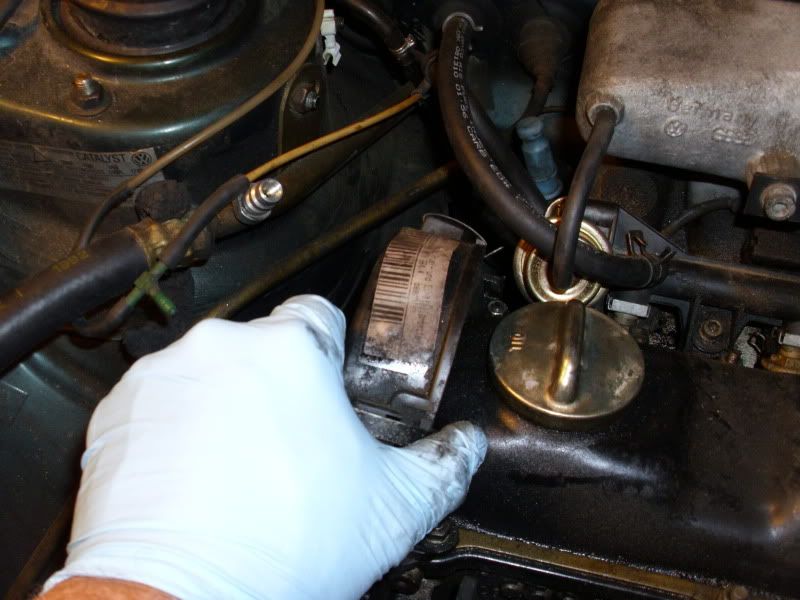
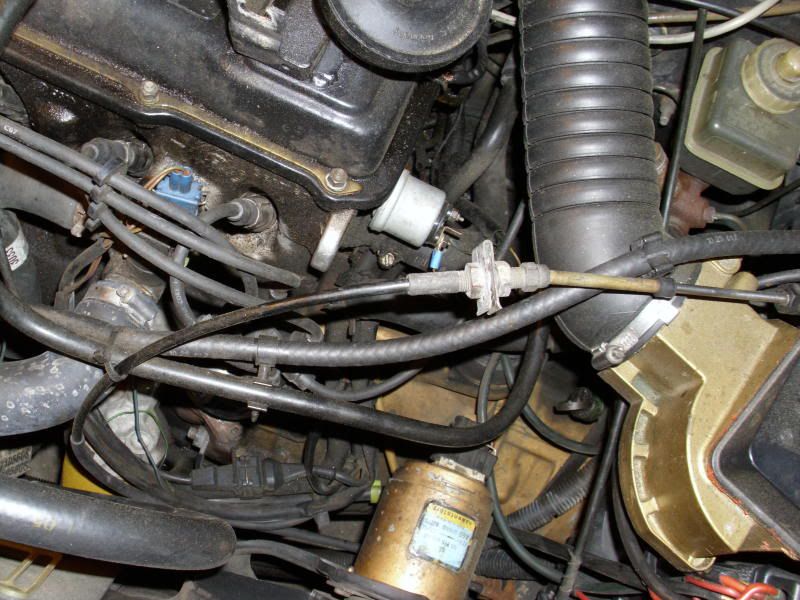
Remove the 6mm Allen from the Bracket.
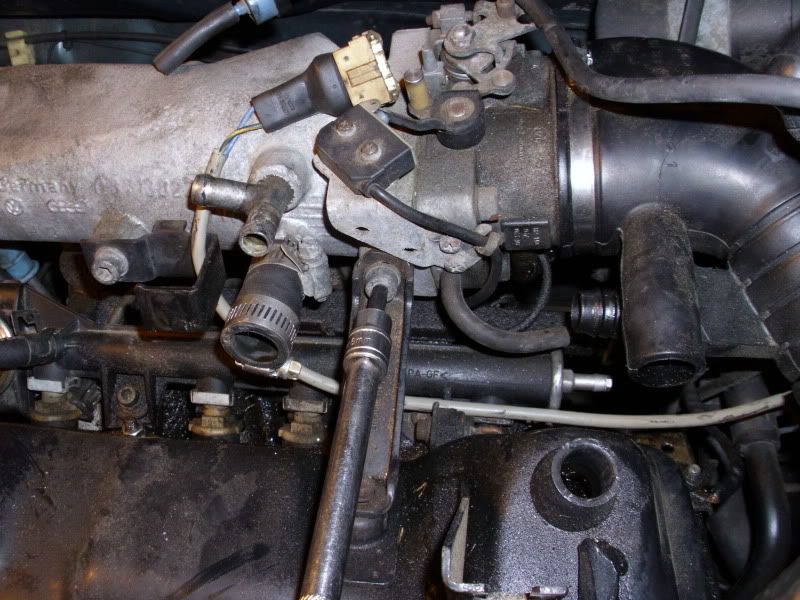
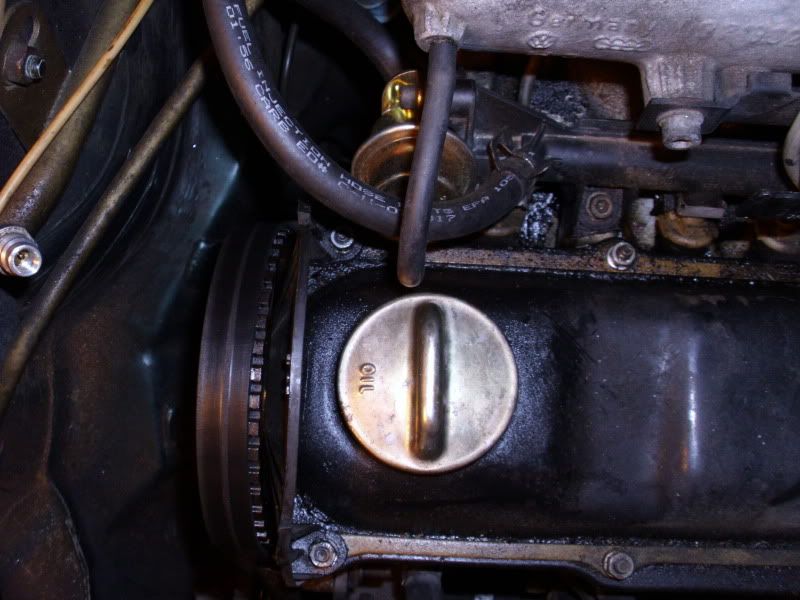
Remove the 10mm bolt from the valve cover top.
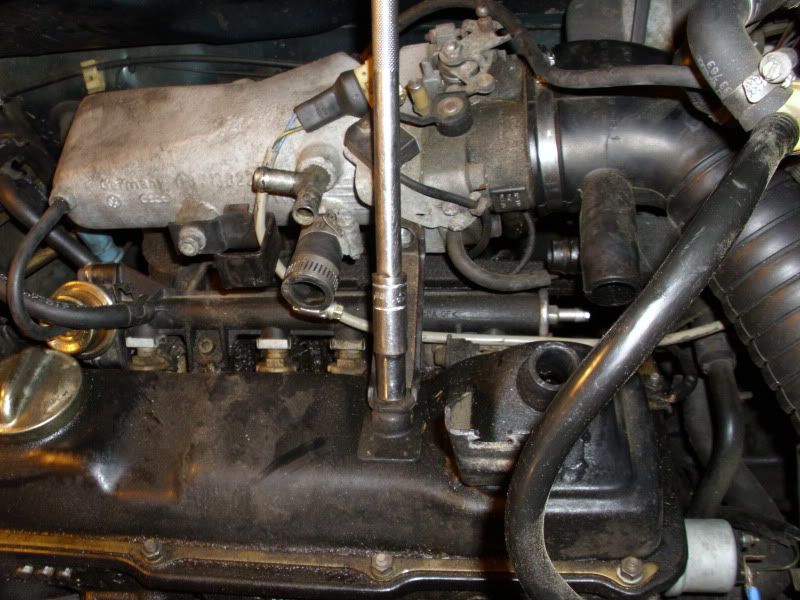
Remove the PCV cap from the Valve Cover, and the Main Air Intake Rubber Boot.
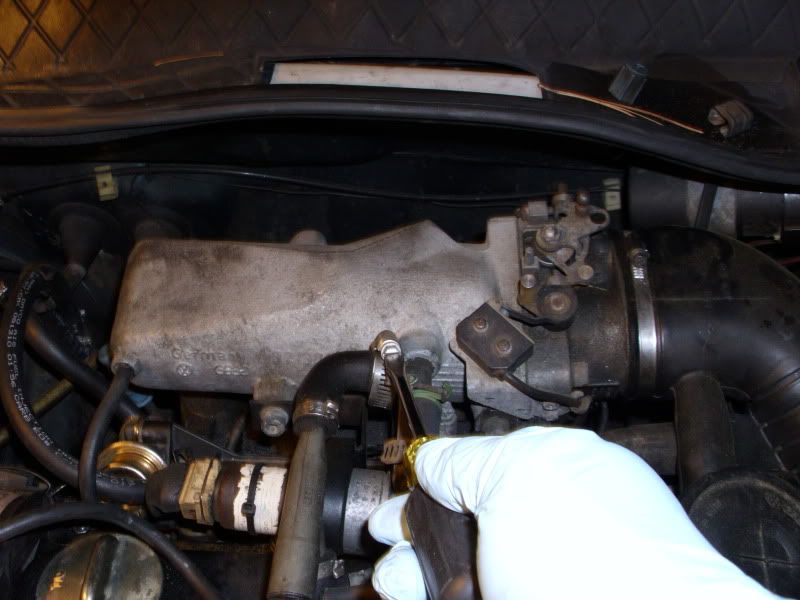
Remove the 8 10mm nut and washers, and reinforcement straps holding the Valve Cover down.
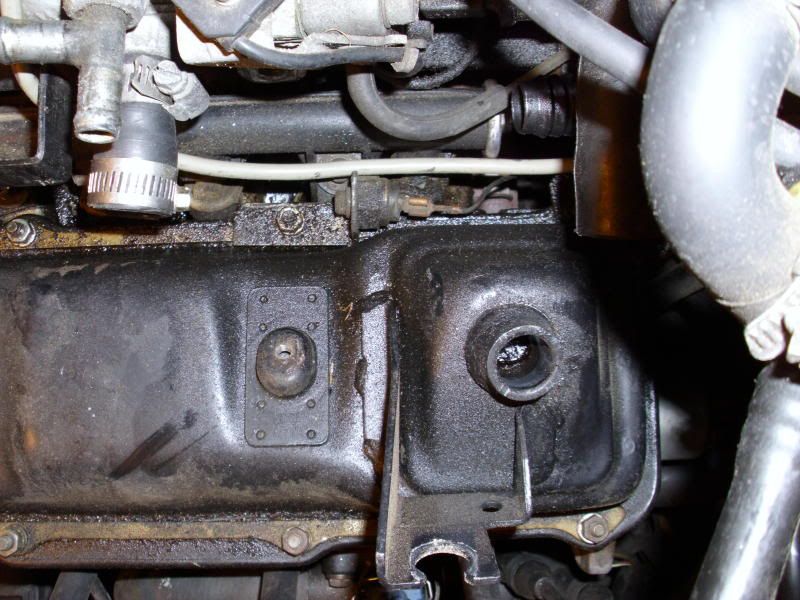
Remove the Fan Thermo switch, and o2 Sensor plate.
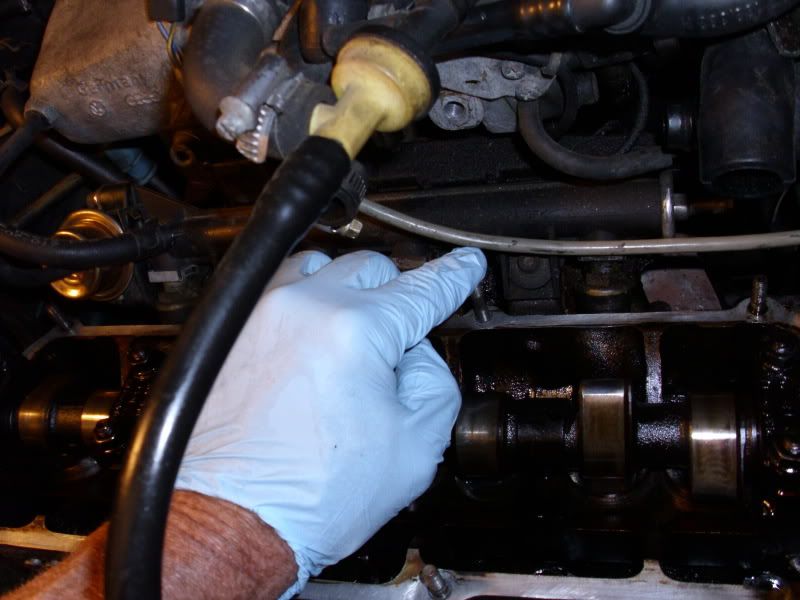
Gently Pry the Valve Cover off the Head. I usually use a flat blade like a
bottle opener at the front.
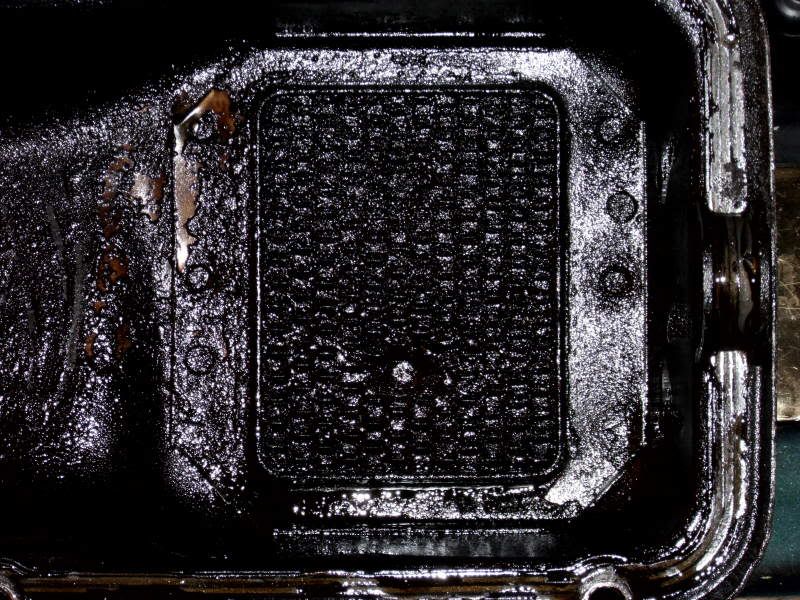
Here is the oil blow by...
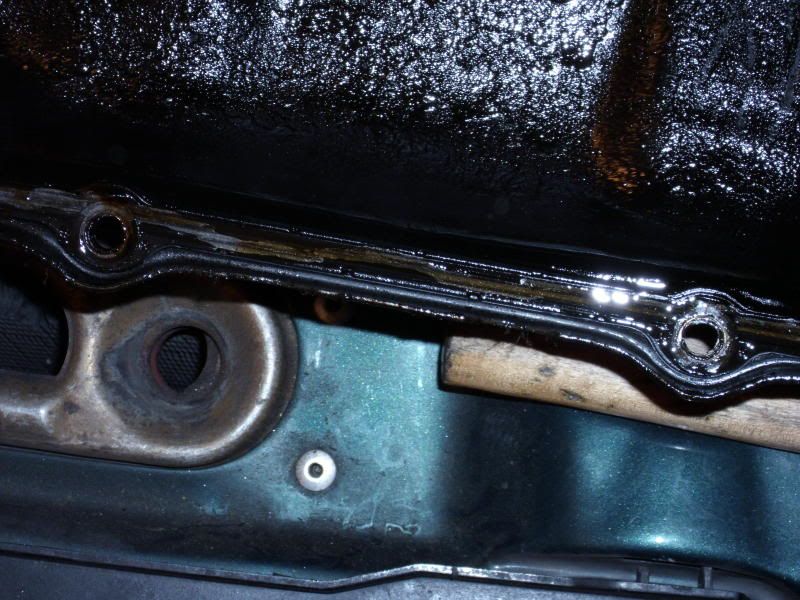
A loose Stud was the culprit.
To replace the stud by hand.
Place a washer on it to prevent the head from scratches
Tighten with a pair of Mini-Vice Grips clamped as low as you can go.
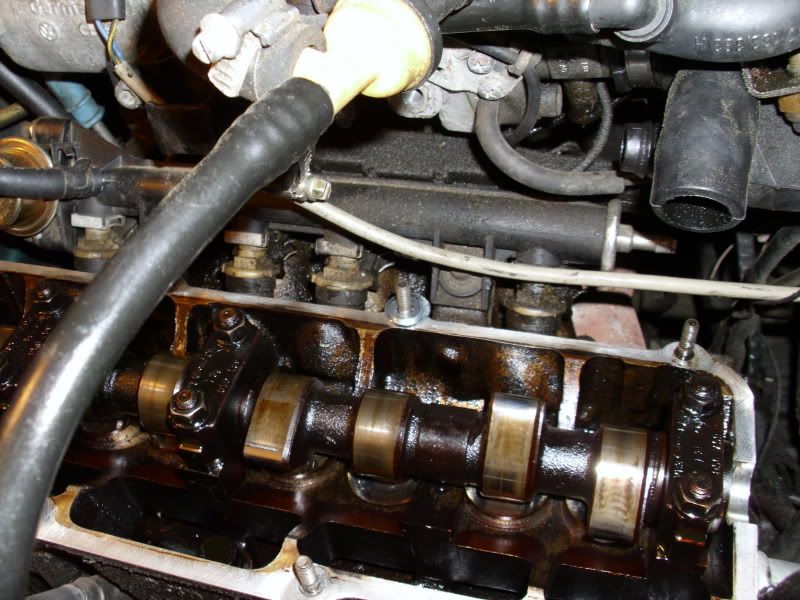
Now lets turn our attention over to the Valve Cover:
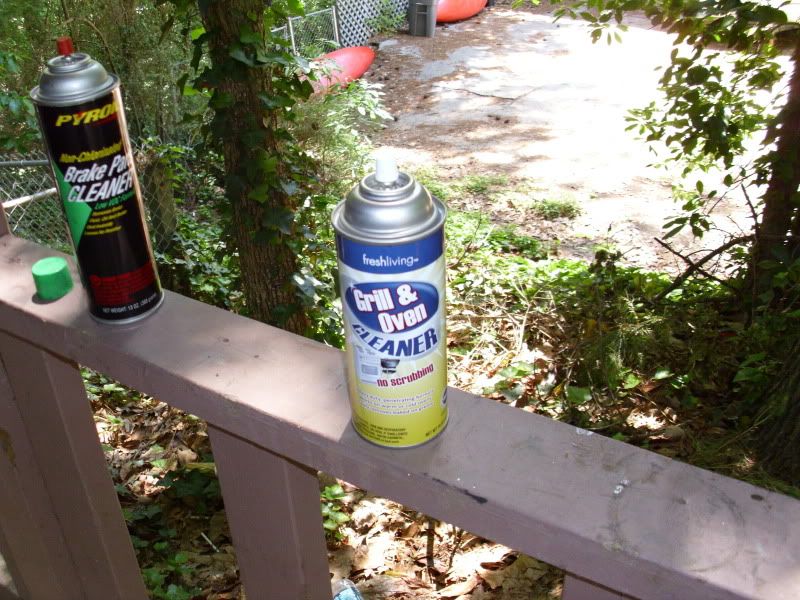
Clean that
I use Cheap Oven Cleaner Sprayed Well and allowed to set for a hour.
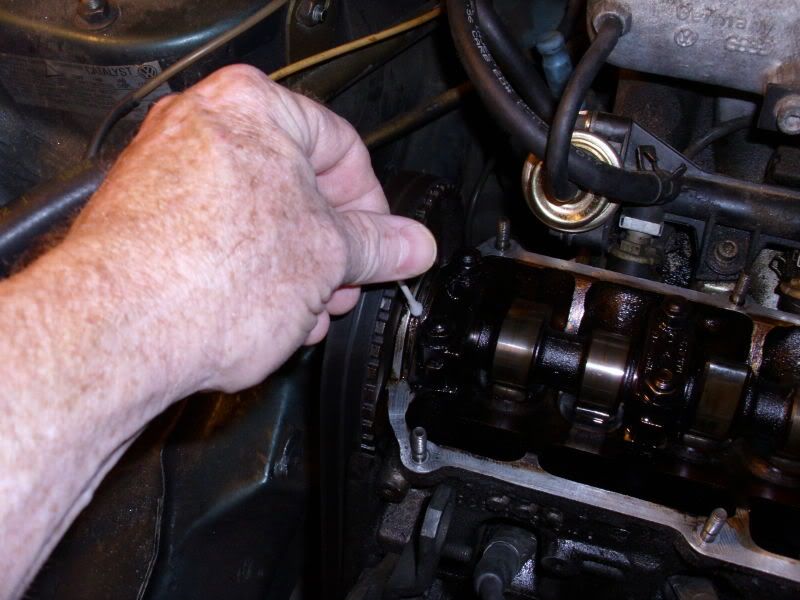
While that is setting. Clean the top of the head surface with Acetone and Q-tips
Cleanliness is a must.
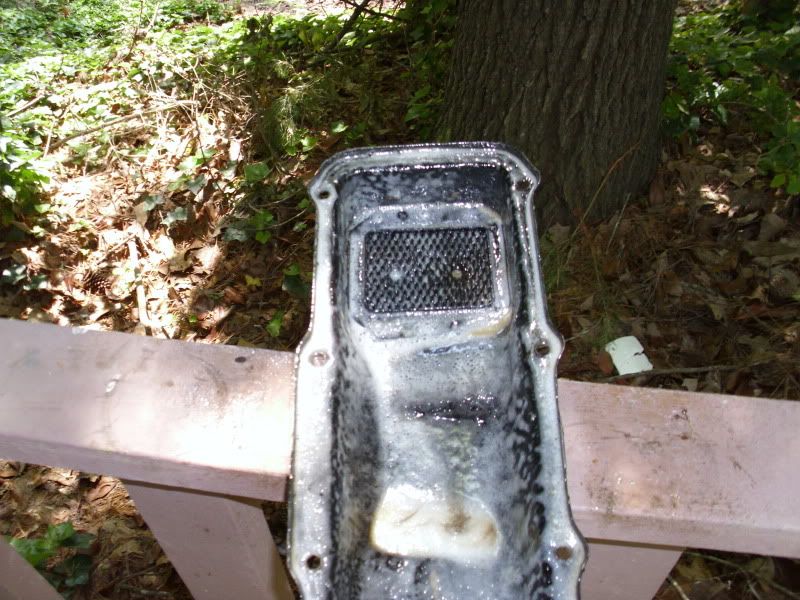
After a light scrubbing with a Brush. Wash the cover with water. Be sure to
flush the vent screen Both from the top and the bottom
till the water runs out clean.
Dry with a rag, now Spray Brake Kleener to evaporate the water and finish removing any crud.
I then use a Shop vac to draw air through the Screen to get all the fumes and
any excess moisture out of the vent.
When replacing the Gasket if it doesn't go down easily use a 8mm deep well
over the studs to get it to lay flat.
Clean the Brackets of Crud for the Thermo-Switch for the fan, as you want a good ground
Same for the o2 Sensor bracket.
Replace the Valve Cover.
Replace the Brackets for the Thermo-Switch, and the o2 sensor
Thermo-switch to the second stud from right side rear, o2 on the rear back corner.
Replace the Timing Cover plate.
Replace the Steel reinforcement straps, The pointy end goes to the Drivers Side.
Place washers on all the studs (Thermo-switch, o2 plate and Timing cover
Goes on First).
Place the nuts on the studs, and drive them tight.
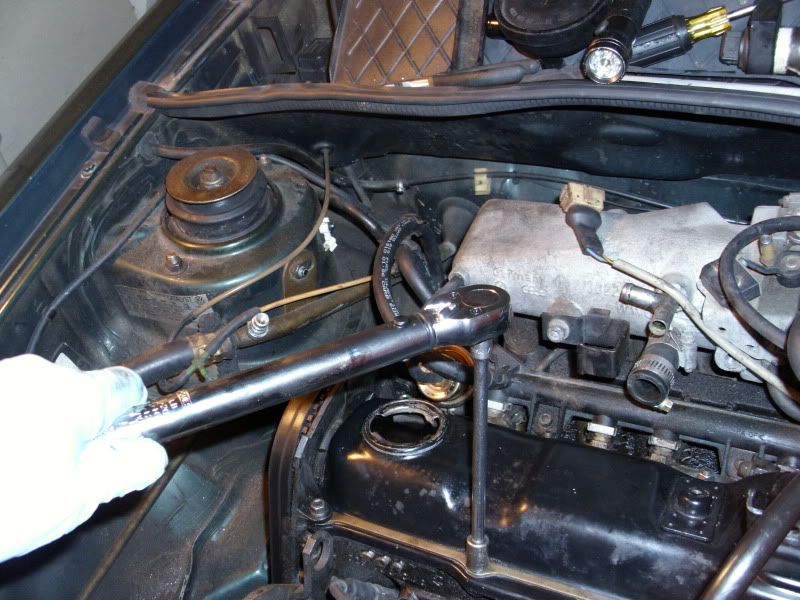
Using a in/lbs torque wrench tighten the nuts to 87 inch pounds.
I do a zig-zag pattern starting on the front, skip then the back...
so that the Cover goes down squarely.
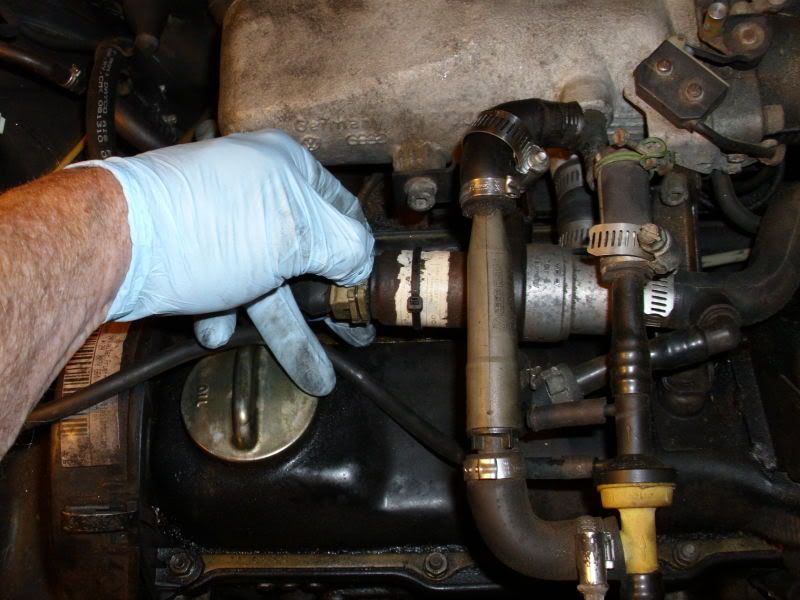
Replace the Vacuum hoses and such in the opposite order of removal.