Headlight relay time
I used a set of Honda headlight retractor relays off a 87 accord (they are rubberrized and capable of holding 40amps.) and they have a handy mounting bracket.
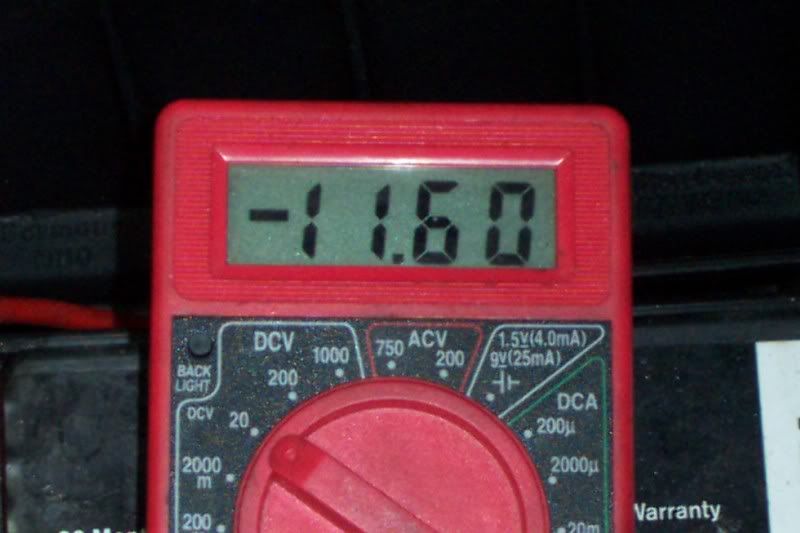
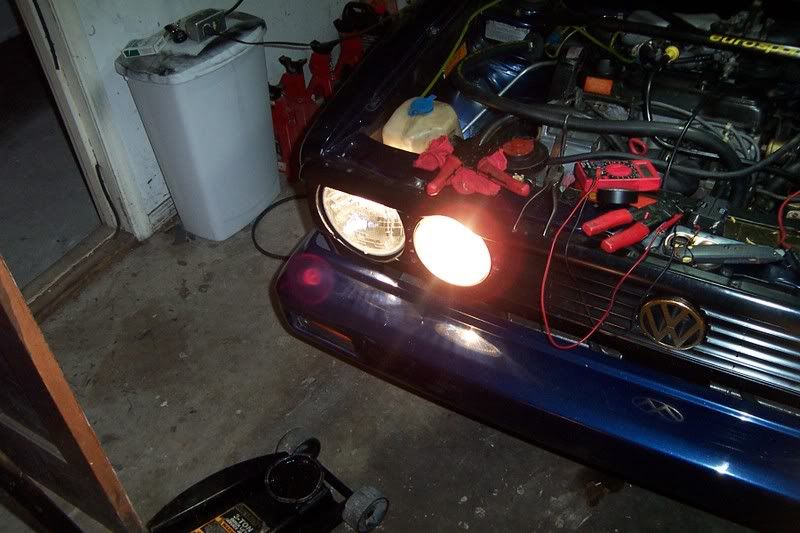
Before install 11.6vdc at the headlight.
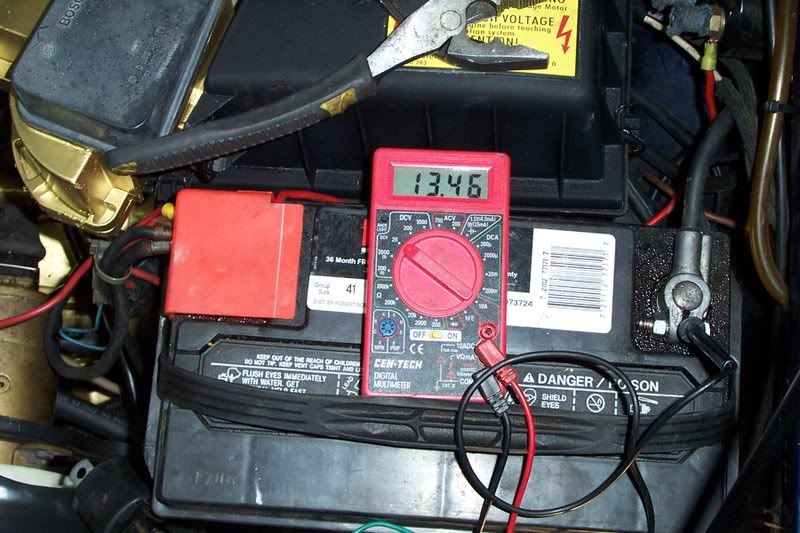
After the install at the headlight.
Since it was daylight when I did this, the before and after are:
before
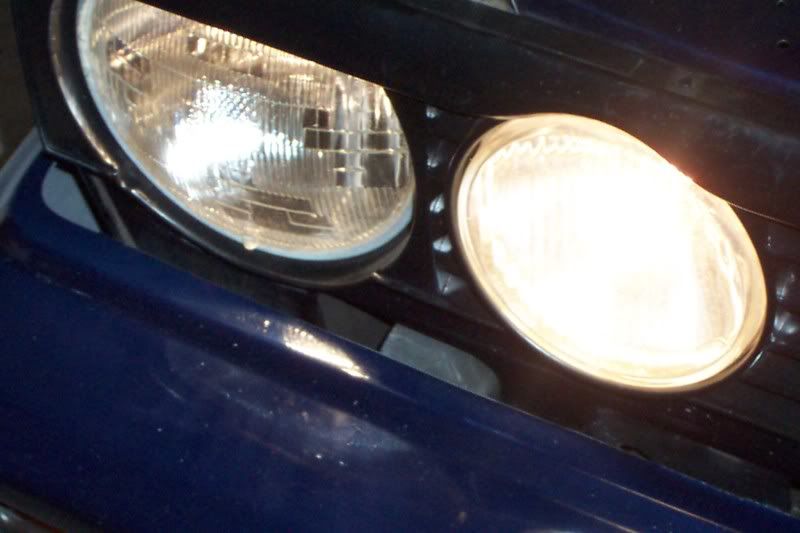
after
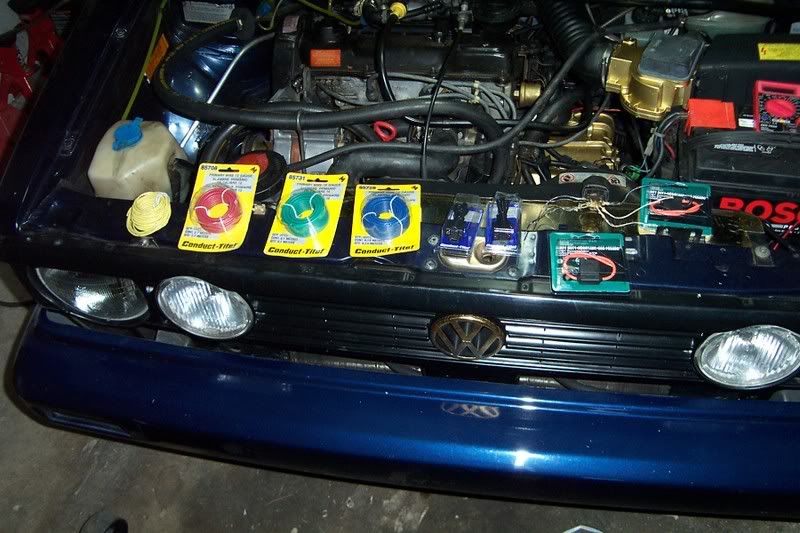
I used 2 new headlight sockets, 16g wire, 2 20amp fuses, a bunch of solder less 3m connectors.
I only have to make 2 wire cuts, that was the High beam white wire before the hi-beam connector.
Everything is totally reversible in about 3 minutes.
I used spade connectors to insert in to the driver side socket to use to pick the relays.
I had most of the parts for the assembly.
I spent about 20 bucks on wire, fuse holders and new head lamp sockets.
The relays i "picked up" at a yard when my daughter had her honda.
Assembling it took about 2 hours, as most of it I had laid out in my head.
I first took static measurements of the ground points, to see if it was a static ground (which they were)
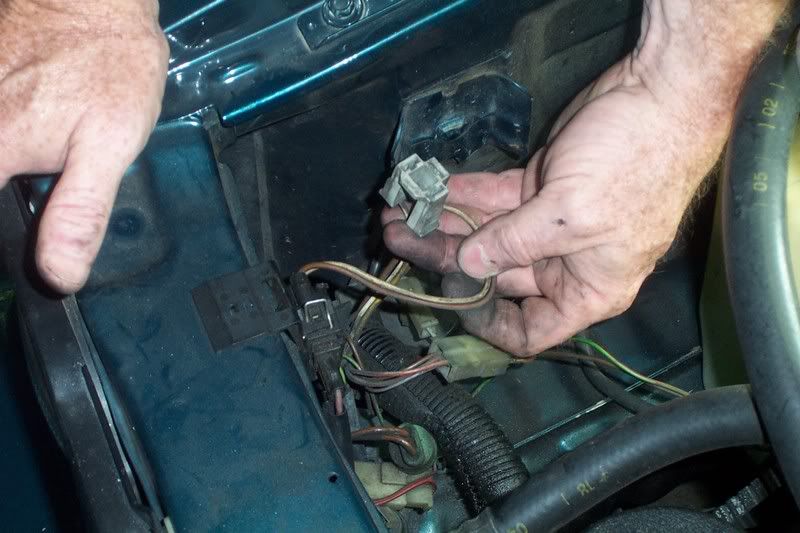
Then I looked at the Bentley. Head light socket was right/brown ground, upper yellow/black Low, white/black high.
The inners have 2 wires white and brown, the brown being ground.
I connected 4 wires to a head light socket, 3 of them one for low, one for ground, and 2 for high I ran them about 4 1/2 foot which was too long. the 4th was about a foot long and a "pig tail" for the high inner.
I soldered and heat shrinked all connections and wrapped the entire assembly with electrical tape.
I found the "inner high" beam and cut the white wire 4 inches behind the original head lamp socket. I spliced the wire that leads to the inner before the connector (allows for grille removal). I heat shrinked the bitter end of the original inner and taped it back to the original socket. I further covered the original socket with tape to seal it.
Connect the "new" socket to the headlamp, and leave a small loop so replacement of bulbs wouldn't be a chore.
Remove the "Fan Shroud cover"
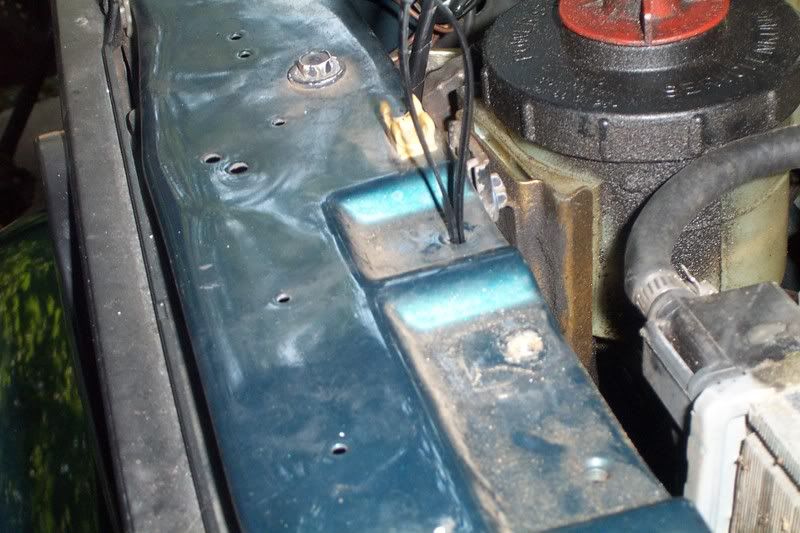
Run the wires under the upper grille valance behind the power steering pump bracket. I secured the assembly with a wire tie loop, in the far left valance hole, that is I took a wire tie, and clipped it together and forced it in the further left hole on the valance, then passed the wiring assembly through the hole and tightened the tie, the head of the tie is securely held fast as the head of the tie can't go back through the hole.
I secured the assembly on the drivers side of the radiator on the first hole past the radiator fastener.
replace the "Fan Shroud" cover.
On the positive side of the battery I ran a 14 gauge wire about 1.5 feet on the battery end I placed a yellow ring crimp connector and soldered it.
On the bitter end of that I used a yellow crimp butt connector crimped to the free stripped end.
To the free end attached 2 14 gauge weather proof fuse holders (no fuses yet.) I ran the assembly down the left side of the battery and between the battery and the fan shroud.
For sake of argument a relay has a "pick" side that is the activation for the switch, and contact side that is normally opened.
On relay 1 contact side I ran 2 wires one to the fuse holder, and the other I attached to the low beam side of the new driver side headlight socket and to the low beam side of the passenger side.
On relay 2 contact side I ran 2 wires one to the fuse holder, and the other I attached to the high beam side of the new drivers side and passenger side headlight socket with a pigtail going to the white "inner" headlight drivers side white wire.
That is the power side finished.
For the "pick" side of the high beam relay I ran a wire from one side to a male "yellow spad" crimp connector.
For the "pick side of the "low beam" relay I ran a wire from one side to a male "yellow spad" crimp connector
I tied the ground lead from the other " pick side" of both relays to the passenger and driver side replacement head light sockets with a pigtail wire about a foot long to a male "yellow spad" connector.
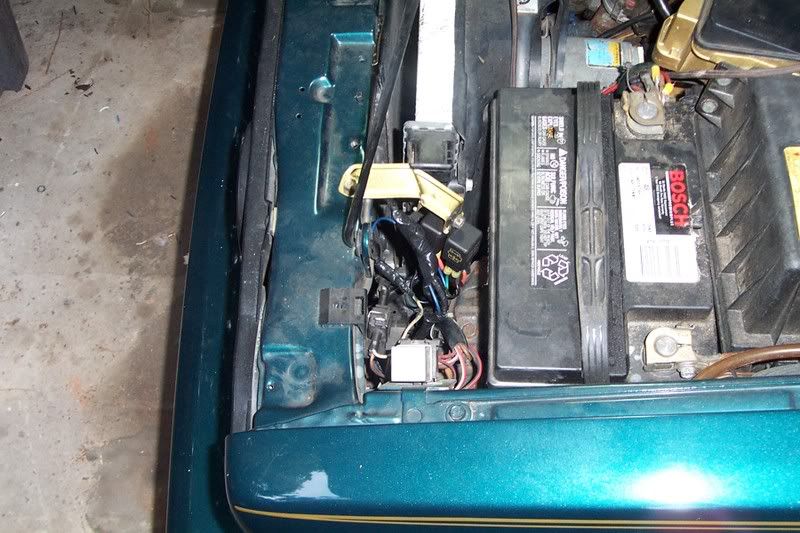
I attached the relays to the bracket and bolted that to the hole in the valance to the left of the prop rod.
I removed the plug from the drivers side head light and placed the new replacement on it.
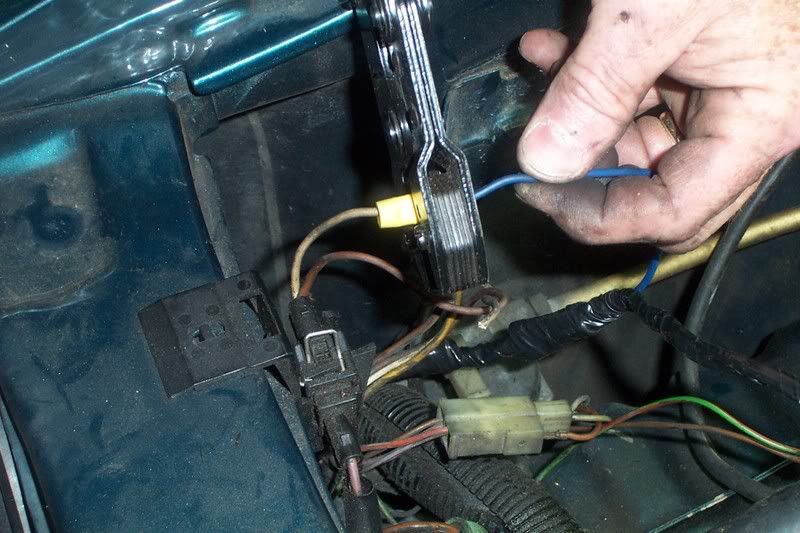
I attached the free male "yellow spad" connectors in to the appropriate jacks of the "original" head lamp socket that is from the high bean relay to the high beam white wire, from the low beam relay to the Low beam yellow wire.
All the ground connections were tied to the "brown" spad connector and inserted into the "brown" wire socket of the original head lamp socket.
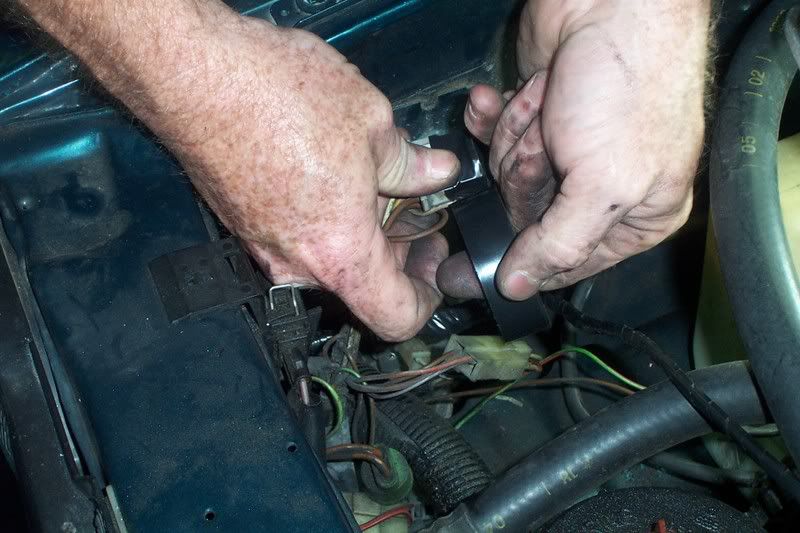
I then wrapped the original head lamp socket with electrical tape to secure and insulate the spad connectors from dirt water and battery acid. I also wrapped up all wires to a harness look.
Place 2 20amp fuses in the fuse holders and cover.
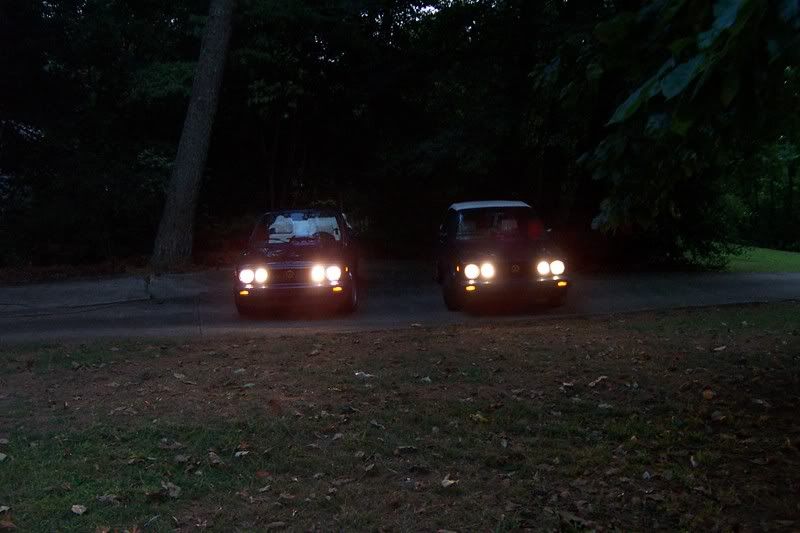
Place key in ignition and turn on and test... pretty wicked upgrade....
I think it took me as long to type this post as it did to make the assembly.

Circuit design

Some hi-lights
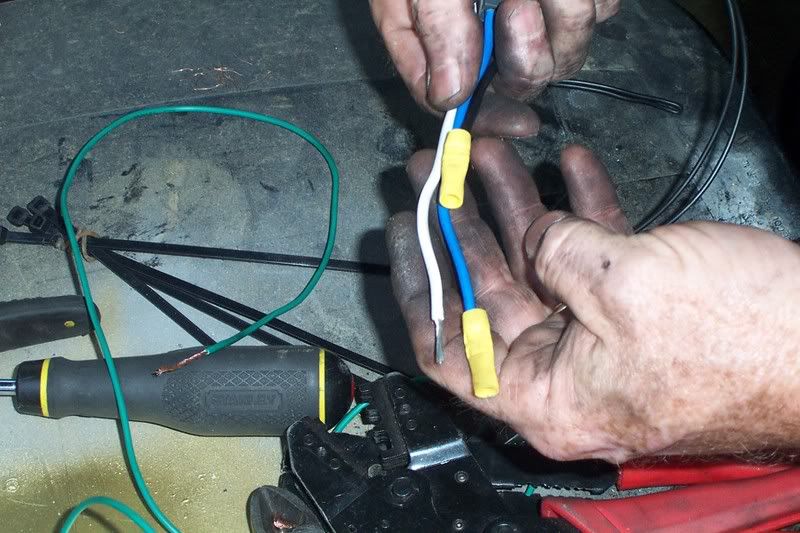
Start with 44 inches of 3 different wires
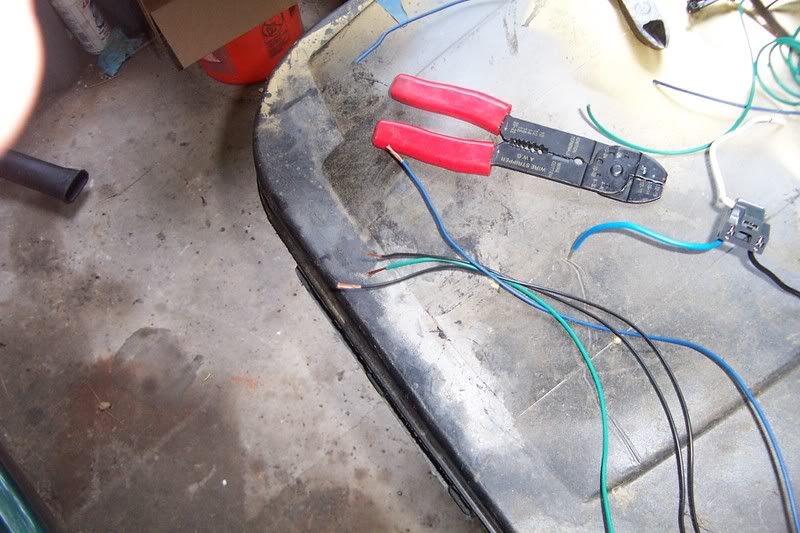
make the "hi-beam with a pig tail 6" long
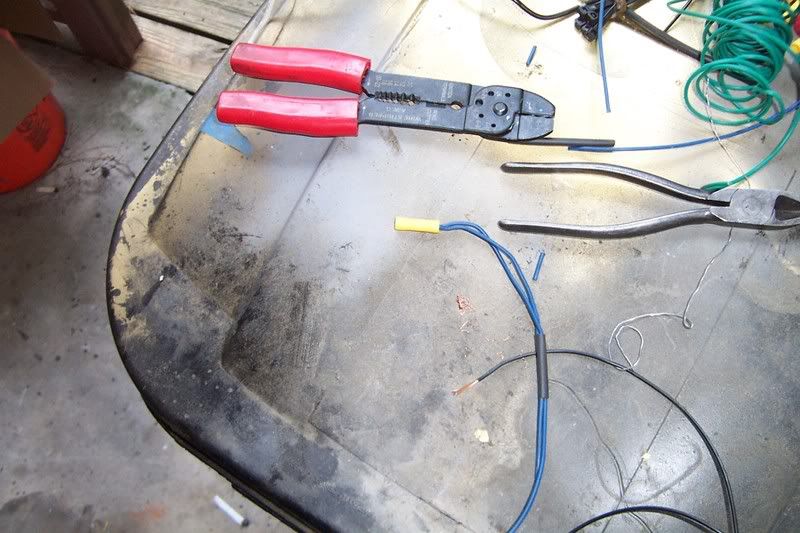
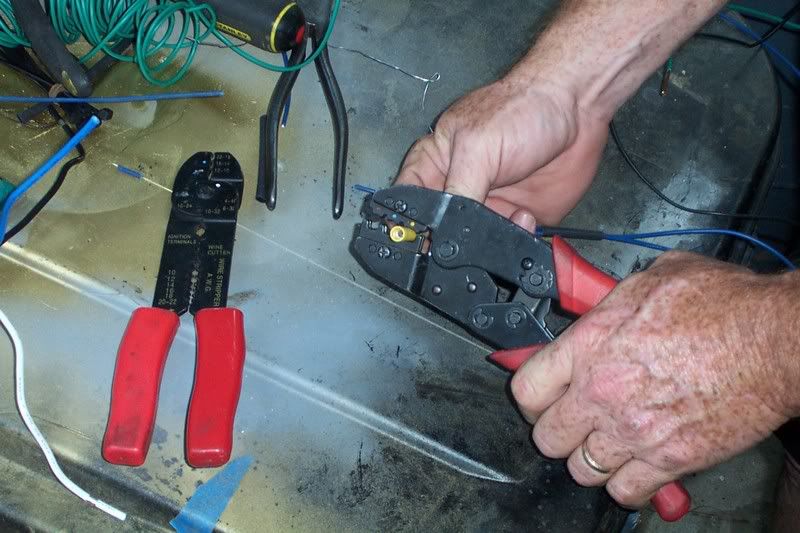
Use a good crimping tool
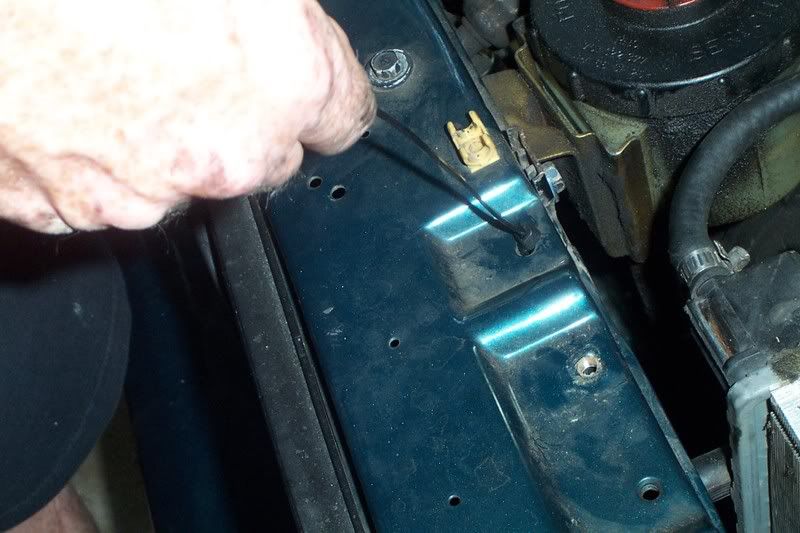
Find and clip the "hi-beam" wire
Attach the pig tail to the White wire.
Heat shrink the bitter end that goes to the socket.
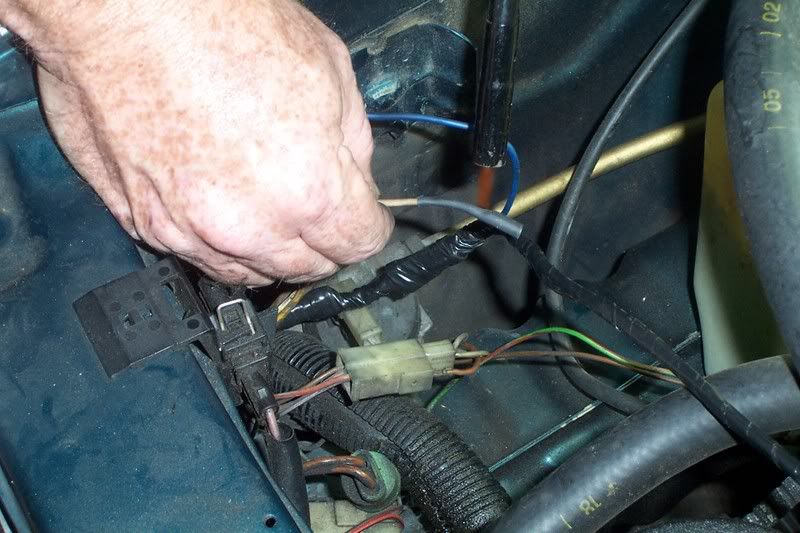
Tape off the original socket
To secure the new harness place it behind the power steering res bracket and under the valanve and on the grille side of the a/c condenser bracket
Close the tie-wrap
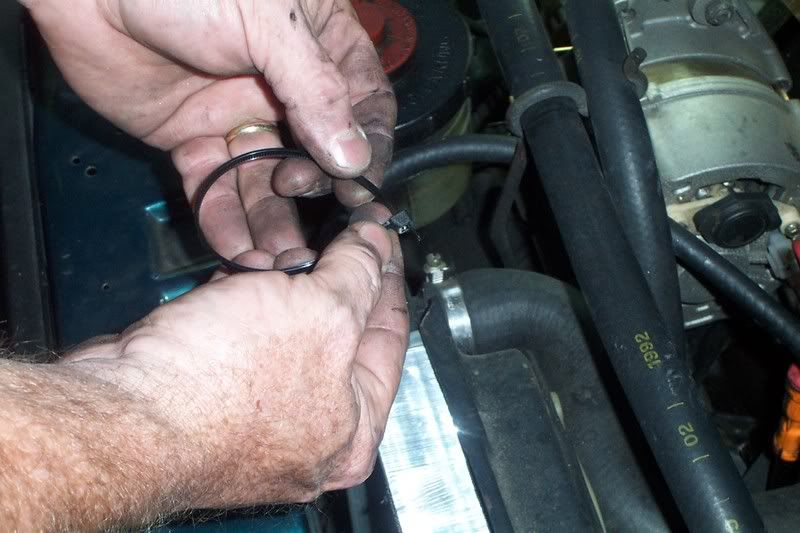
Insert it in the hole int he valance that is to the left of the a/c condenser mount.
Feed the harness through the hole and tighten
When I am making a ground connection, I stagger the ground to be away from the other connections and tape over all connectors.
I now make the other side of the harness (drivers side) to include the "pick wires" the battery connections, and the relays, Tape the harness to prevent runaway wires, and abrading.
I attach to the bracket and it looks as such. I don't use more than a foot of wires on the drivers side harness. Cut to make pretty and for fitment.
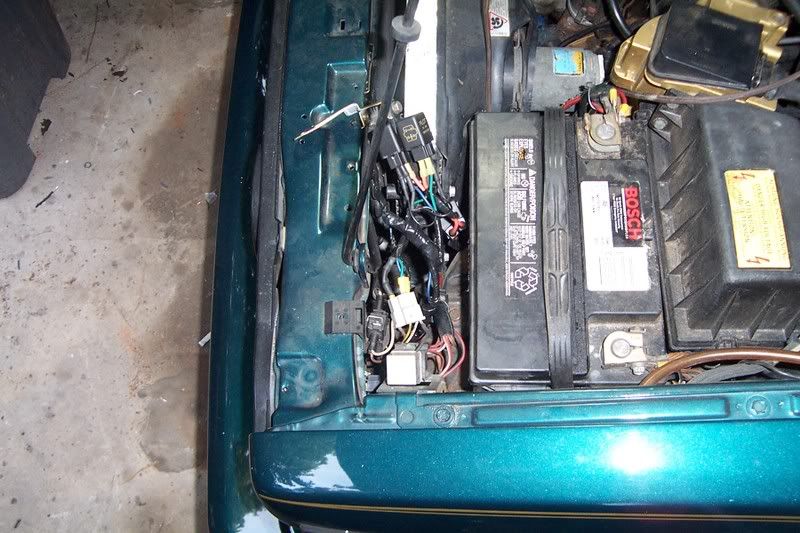
Finished relay bracket and mount. The Bracket is off a 86 honda civic...